The Message Queue page in the Email Campaigns section provides a chronological listing of all scheduled send events.
NOTE: It is highly recommended you read the "New UI Basic Functions Overview" article first, as it provides an overview of all Pinpointe audience types and how the various pages and sections are accessed and structured.
TABLE OF CONTENTS
There are several ways to access the Message Queue page in the Email Campaigns section.
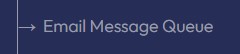
- Select the "Email Message Queue" option under the main "Messages" menu. This will take you directly to the Message Queue page.
- Select the "Manage Email Messages" option under the main "Messages" menu. This will take you directly to the Campaigns page, where you can then select Message Queue. Ex: Selecting "Campaigns":

There are a few notable actions you can take on the Message Queue page:
- Apply Actions dropdown near top left. You can apply an action from the drop down list to one or more message queue events depending on how many are selected via the checkbox on the far left column. The available actions are fairly self-explanatory, but should you need assistance, please contact Pinpointe Support.
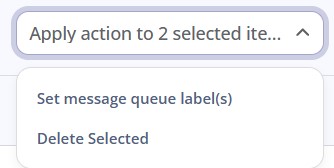
Here is a brief description of the various actions:
- Set message queue label(s) - allows you to apply one or more labels to one or more message queue events
- Delete Selected - allows you to delete one or more message queue events
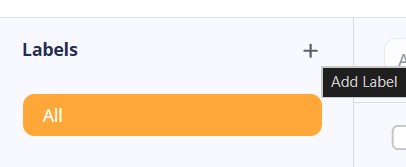
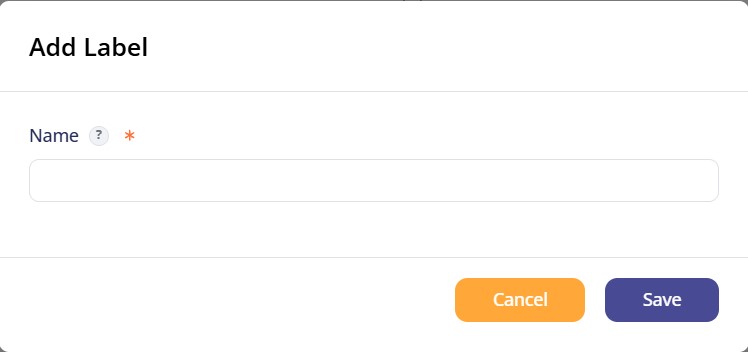
- Create a new Label by clicking the small "tag" icon near the top right of the page. Doing so brings up a modal that allows you add new Labels that can then be applied to your message queue events.

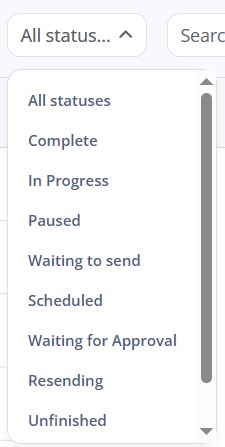
- Message Queue Events Sorting by Status
To the immediate right of the "tag" icon you will find a message queue status dropdown menu that allows you display a subset of your message queue events based on their status.
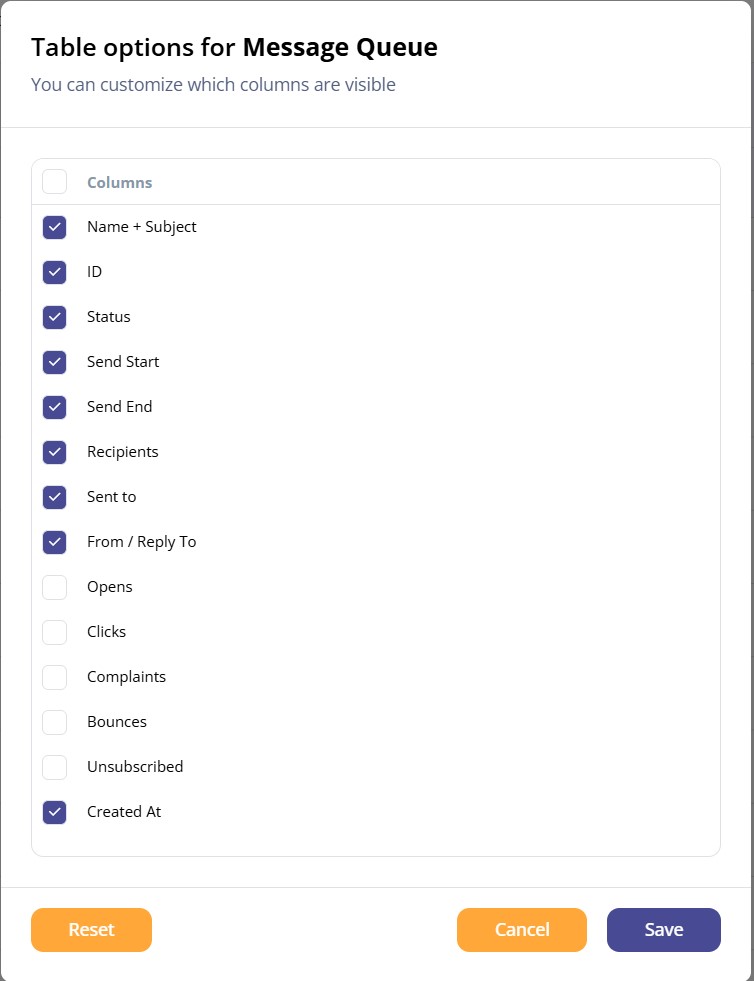
- Table Options - clicking the small "slider" icon at the far top right of the page brings up a modal that allows you to select which columns will be viewable when viewing the page.

Column Controls
- The ACTIONS column allows you to select from a series of options shown in a drop down list. Find the message queue event you wish to work with, then click the three horizontal dots icon in the ACTIONS column for that message queue event.
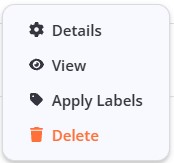
Here is a brief description of each action:
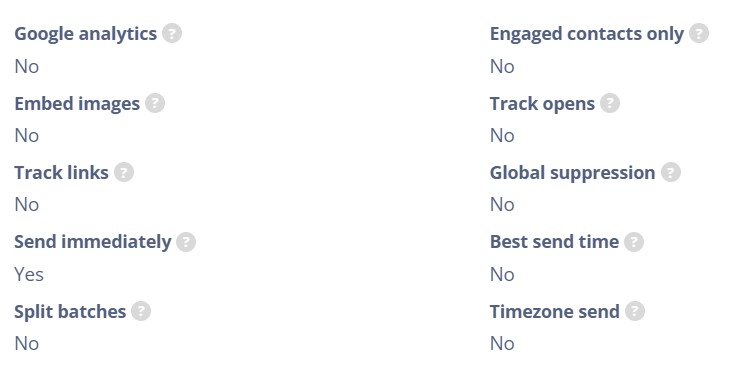
- Details - Opens a pane on the right side of the screen providing various types of details regarding the send event:
- Name of campaign sent
- Subject of campaign sent
- Date scheduled
- Type of message sent
- Status of send event
- Send from name
- Send from email
- Reply to email
- Audience(s) message was sent to
- Type of audience (database, list, segment)
- A series of checkboxes:
- View - renders the campaign associated with this send event in the browser for review
- Apply Labels - allows you to apply one or more labels to the message queue event
- Delete - allows you to delete the message queue event
Additional columns on the CAMPAIGNS page are:
- NAME + SUBJECT - name and subject of the campaign associated with the send event
- ID - the ID number for the send event
- STATUS - the status of the send event
- SEND START - the timestamp of when the send event started
- SEND END - the timestamp of when the send event completed
- RECIPIENTS - number of contacts in the send-to audience(s)
- SENT TO - number of contacts the message was actually sent to
- FROM / REPLY TO - the email address / domain associated with the send event
- OPENS - current unique open count for the message associated with the send event
- CLICKS - current total click count for the message associated with the send event
- COMPLAINTS - current total complaints for the message associated with the send event
- BOUNCES - current total bounces for the message associated with the send event
- UNSUBCRIBED - current total unsubscribes for the message associated with the send event
- CREATED AT - the timestamp of when the send event was created / initially scheduled