A segment is a secondary audience type in Pinpointe. Segments allow you to dynamically "carve out" a sub-population of your database contacts based on some criteria, including certain custom field values or contact engagement behavior, such as has/has not opened a particular email.
You may have as many segments as you require to manage and market to your database(s) population. A contact may appear in an unlimited number of segments.
Segments are dynamic, meaning Pinpointe employs a set of user-defined filters (also called rulesets) to determine which contacts in a database meet the criteria so as to be initially included in the segment, and to remain in the segment. As long as a given contact meets these criteria, they will be included in the segment population. If the contact subsequently fails to meet any of the defined filter criteria, they are removed from the segment.
NOTE: It is highly recommended you read the "New UI Basic Functions Overview" article first, as it provides an overview of all Pinpointe audience types and how the various pages and sections are accessed and structured.
TABLE OF CONTENTS
There are several ways to access the Segments page in the Contacts Management section.
- Select the "Manage Segments" option under the main "Contacts" menu. This will take you directly to the Segments page.
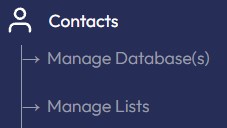
- Select the "Manage Databases", "Manage Lists", "Search" or "Master Unsubscribe" options under the main "Contacts" menu. This will take you directly to the respective page, where you can then select "Segments". Ex: Selecting "Manage Segments":

Creating a new segment
To create a new segment, you click the "Create" button at the top right of the Segments page. This brings up a modal ("Advanced Filters") on the right side of the page comprised of two panes, each with various input fields.
Although the Filters pane will be initially highlighted, it is strongly suggested you first click on the Databases button to bring up the Databases pane. The various input fields in this pane are:
- Name - of your segment
- Selection of databases - you will see a drop list of your available databases. You may also directly search for a specific database using the "Search" input field. While you may select more than one database from which to generate your segment, it is advisable to use one database per segment.
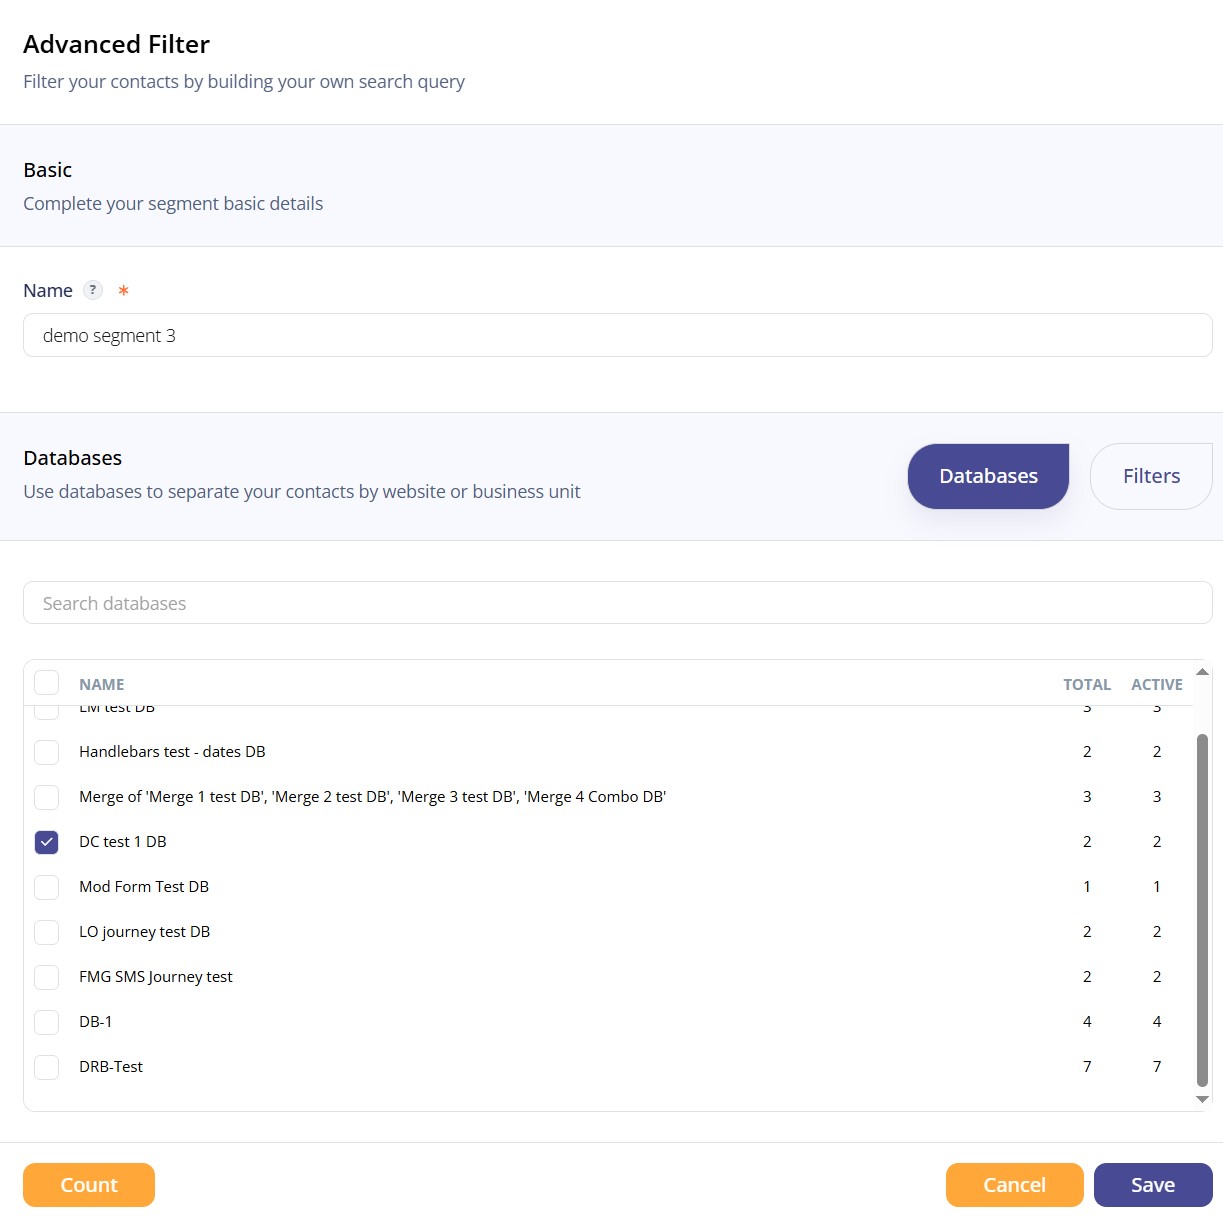
Once you are finished on this pane, click the Filters button.
On the Filters pane, you will see a bordered section where you can define which filters to apply to this segment. Each filter is constructed using at least three input fields:
- The targeted custom field or event to check
- The operator to apply to the target
- The value to check for
- Depending on which target and operation you select, additional input fields may appear
Here is an example of a filter:

- The target selected was "Opened Email Campaign"
- The operator selected is "Has Not Opened"
- "any type of open" was selected as the third sub-filter
- "Any Type of send" was selected as the fourth sub-filter
- "TZ test" was selected as the campaign to check for opens
This is a common type of segment where a user wishes to only target non-openers for subsequent sends of an email. If a contact currently is in this segment, but they subsequently open the email, they will invalidate the "Has Not Opened" operator sub-filter and will be removed from this segment.
Segments can have multiple filters, also called "Conditions". You may add a new filter condition by clicking the "+ Condition" button in the bordered section.
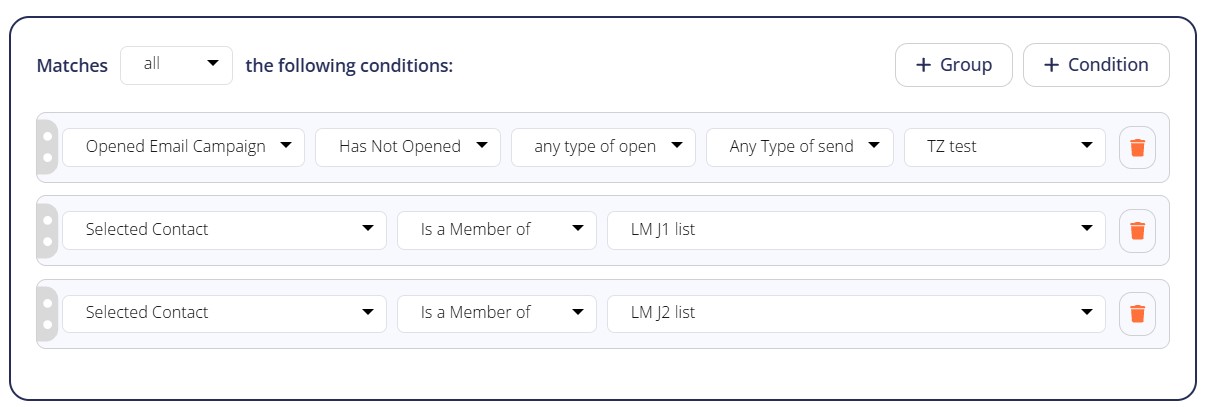
In the above example, please note the top dropdown option labeled "Matches". By default, this will be set to "all", which means the contact must meet all the criteria filters to be included in the segment. You may, however, select "any of" from the dropdown. In that case, a contact would only have to meet any one the three filters (conditions) shown above.
You may also nest filters so that you can mix and match "all" rules with "any of" rules. As an example, you can click the "+ Group" button to create this type of segment:
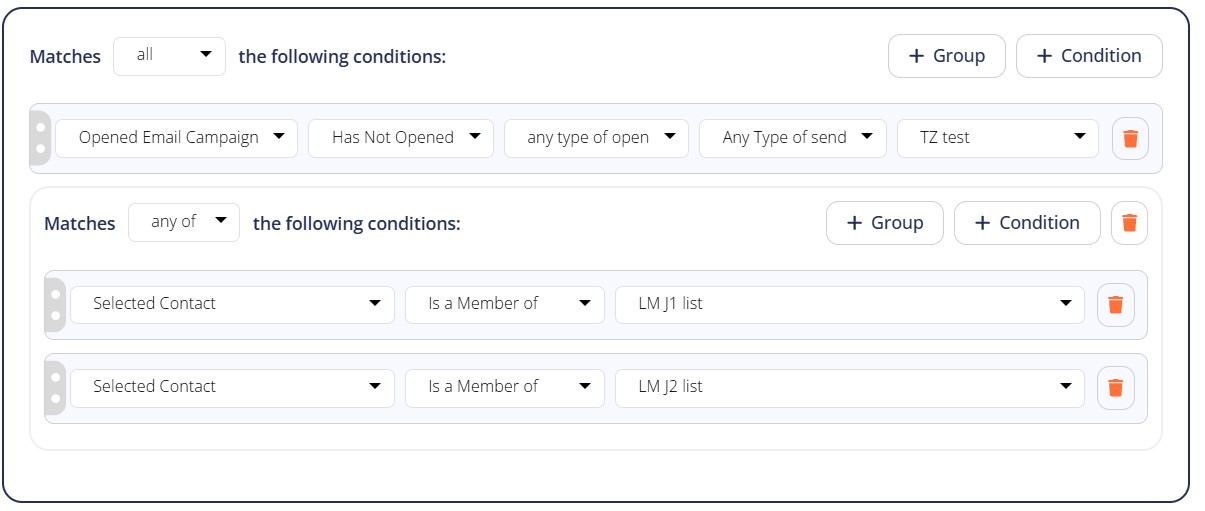
The above segment filter requires a contact has NOT opened the email AND must be in EITHER the LM J1 list or the LM J2 list.
There are many target and operator values to choose from. It is suggested you review creating a segment in your account that achieves the segmentation goal you want. At any time during your review, please contact Pinpointe Support via the application chat widget or by emailing Support at support@pinpinte.com, and we will be happy to assist you in constructing your segment.
Once you have completed creating your segment filter(s), click the "Save" button at the lower right corner of the pane to save your segment.
There are other notable actions you can take in the Segments page.
- Apply Actions dropdown near top left. You can apply an action from the dropdown list to one or more segments depending on how many are selected via the checkbox on the far left column. The available actions are fairly self-explanatory, but should you need assistance, please contact Pinpointe Support.
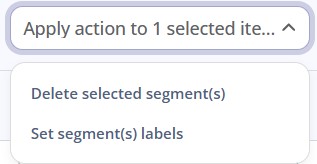
Here is a brief description of the various actions:
- Delete selected segment(s) to delete one or more segments
- Set segment(s) labels to apply existing labels to one or more segments.
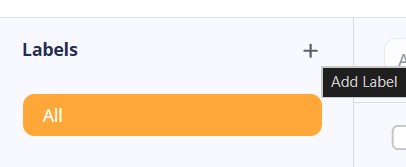
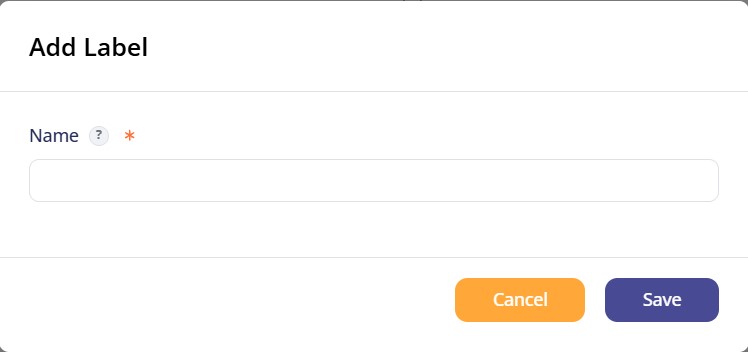
- Create a new Label by clicking the small "tag" icon near the top right of the page. Doing so brings up a modal that allows you add new Labels that can then be applied to your segments.

- Segment Status - Clicking this dropdown allows you to display "Active segments", "Deleted segments" or "All segments".
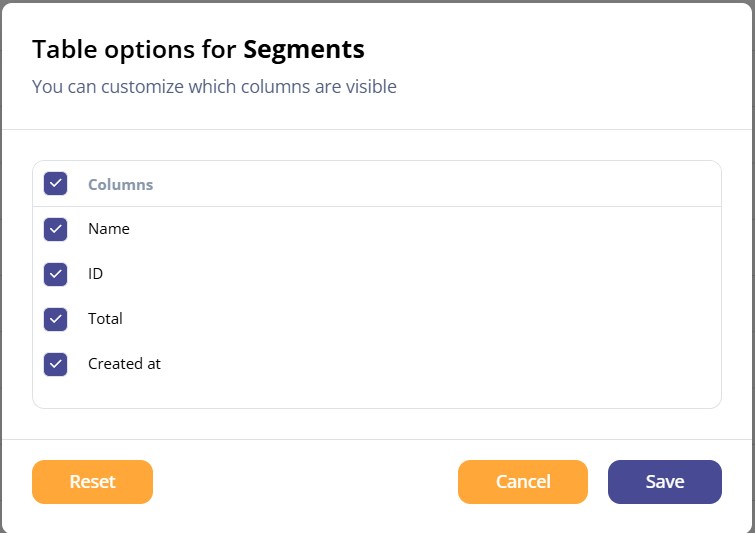
- Table Options - clicking the small "slider" icon at the far top right of the page brings up a modal that allows you to select which columns will be viewable when viewing the page.

- The ACTIONS column allows you to select from a series of options shown in a drop down list. Find the segment you wish to work with, then click the three horizontal dots icon in the ACTIONS column for that segment.
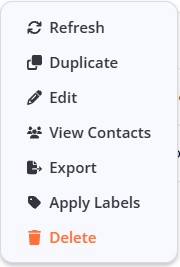
Here is a brief description of each action:
- Refresh refreshes your segment contact count to update the value for previous actions that affect the segment population
- Duplicate lets you clone your list
- Edit allows you to edit your list
- View Contacts lets you view contacts in your list
- Export lets you export your segment contacts
- Apply Labels lets you apply labels to your segment. See the article titled XXXXXXX for more information on this action
- Delete lets you delete your segment
Additional columns on the Segments page are:
- NAME - name of your segment
- ID - the ID number for your segment
- TOTAL - the total amount of contacts in your segment
- CREATED AT - displays the timestamp of when the segment was originally created