Importing contacts is done via the Databases page under the primary Contacts Management section. To import contacts via a CSV file into a database, click the horizontal three dot icon to the left of the database name, which will open your "ACTIONS" column dropdown list.
NOTE: It is highly recommended you read the "New UI Basic Functions Overview" article first, as it provides an overview of all Pinpointe audience types and how the various pages and sections are accessed and structured.
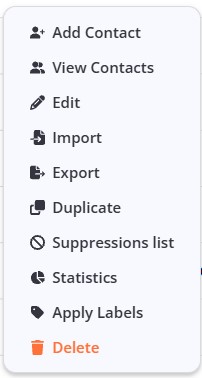
Select the "Import" menu option. This will bring up the first pane of a series of four in a modal.
- The first pane is File.
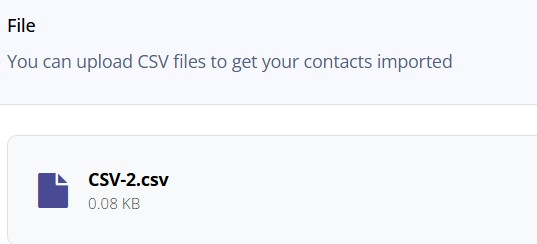
You may drag your CSV file from your local system into the dashed area OR click into the area to select the file from your local system file structure. If you are successful, you will see the file has been uploaded into Pinpointe.
The "CSV file includes headers" checkbox directly below should be checked by default. For import operations, please make sure it is checked.
Once your file is successfully uploaded, click the "Next" button.
- The next pane is Fields.
The system will identify which custom fields you have set up in your database, which fields are contained in your CSV file, and attempt to to map them accordingly.
As an example: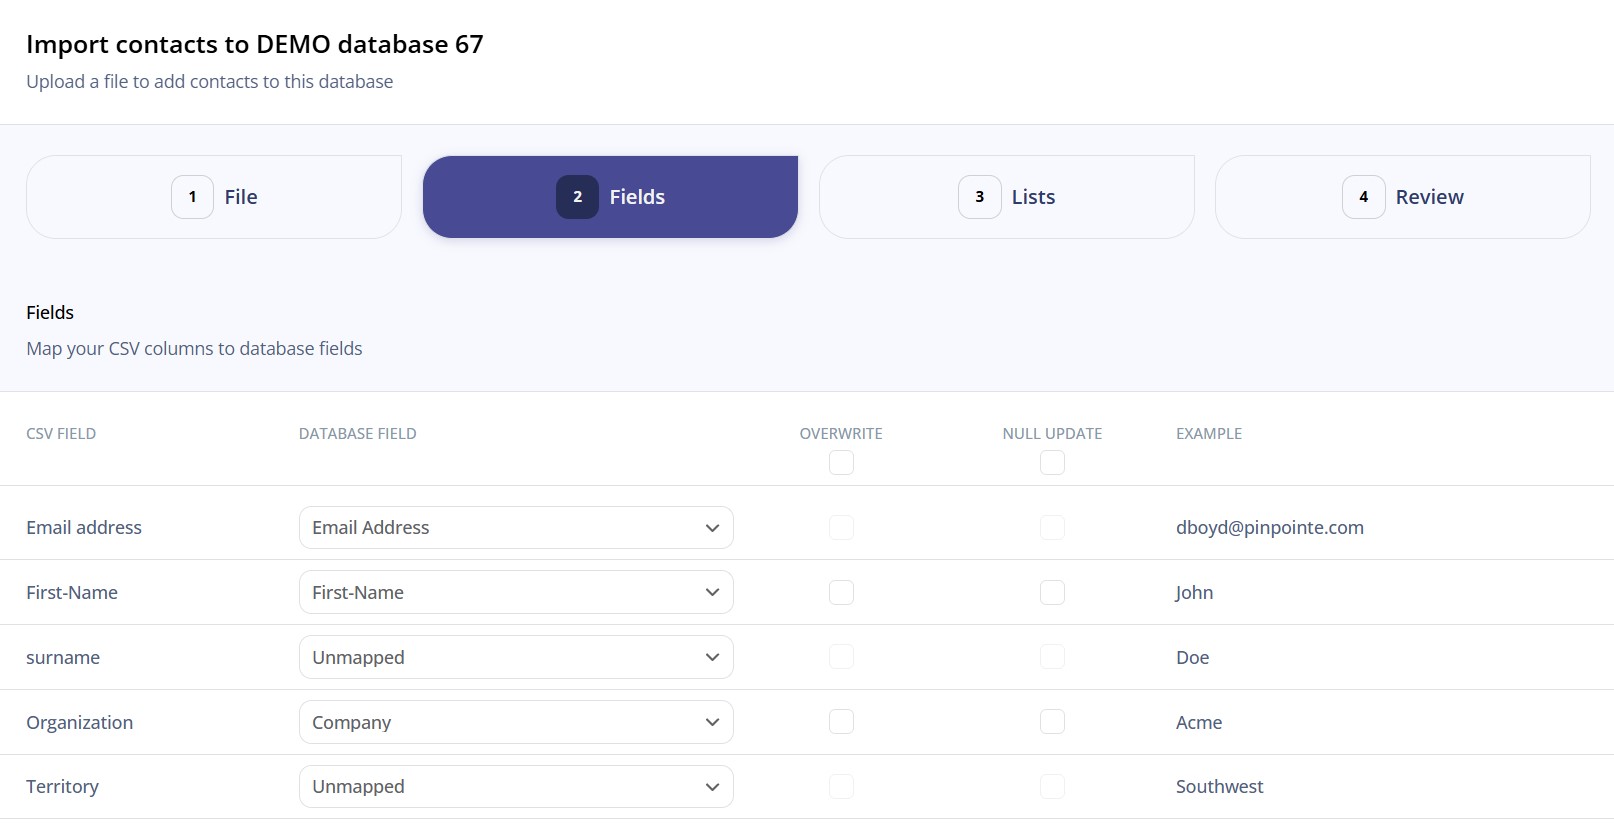
- "Email Address" has been correctly mapped over
- I used "First-Name" in both my database setup and in my CSV file, so the system has no issue with correctly mapping these fields
- Even though I have "Last-Name" selected in my database, I used "surname" in my CSV file. These two strings are sufficiently different so that the system cannot automatically map them to one another. However, please note the "DATABASE FIELD" column shows "Unmapped" from the dropdown field. Clicking on the dropdown brings up a dropdown menu. Since I know I added the "Last-Name" field to my database, I will select it:
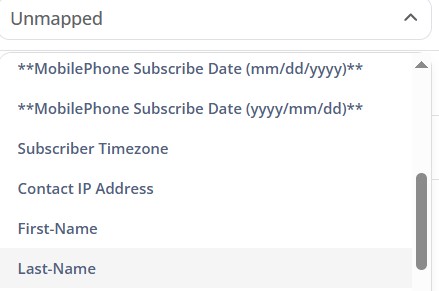
The system now maps "surname" from my CSV file to "Last-Name" in my database.

- I used "Organization" in my CSV file and "Company" in my database, but the system is "smart enough" to associate the two definitions and creates the mapping.
- In my CSV file, I have a field called "Territory". I did not include a field for that value in my database. At this point, I should cancel my import, go to the primary "Resources" menu option on the left-hand main menu, select "Custom Fields", create the "Territory" custom field, and then attached it to my "Demo database 67" database. I would then start the import process over. For this purpose of continuing this example, we will leave the "Territory" field in the CSV file unmapped.
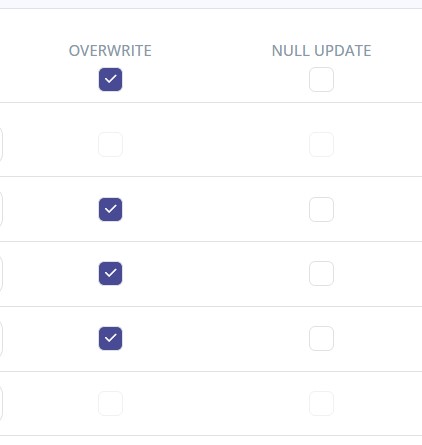
- By default, Pinpointe will not overwrite your contact data should you reimport the contact info a subsequent time into the same database. However, in most scenarios, you will want your Pinpointe data to be in sync with your local data. To make sure the data in Pinpointe does match your local data on subsequent imports, you should check the "OVERWRITE" checkbox. Please note that checking the box will result in ALL individual custom fields being overwritten. Should you want some fields to remain as is, simply uncheck the box for those specific fields.
- If you subsequently import a CSV file again into the same database, and there are columns (fields) that are now empty in the CSV file, BUT, these fields have values in your database from the initial import, even if you check "OVERWRITE", by default Pinpointe will not delete the values in your database as a safeguard. In the event you do want to delete the values for these fields in your database, you must also check the "NULL UPDATE" checkbox. Once your mapping is completed, click the "Next" button.
- The next pane is Lists
You have two basic options on this pane:
- Continue the import without adding your imported contacts to a list
- Add the imported contacts to one or more existing lists and/or new lists
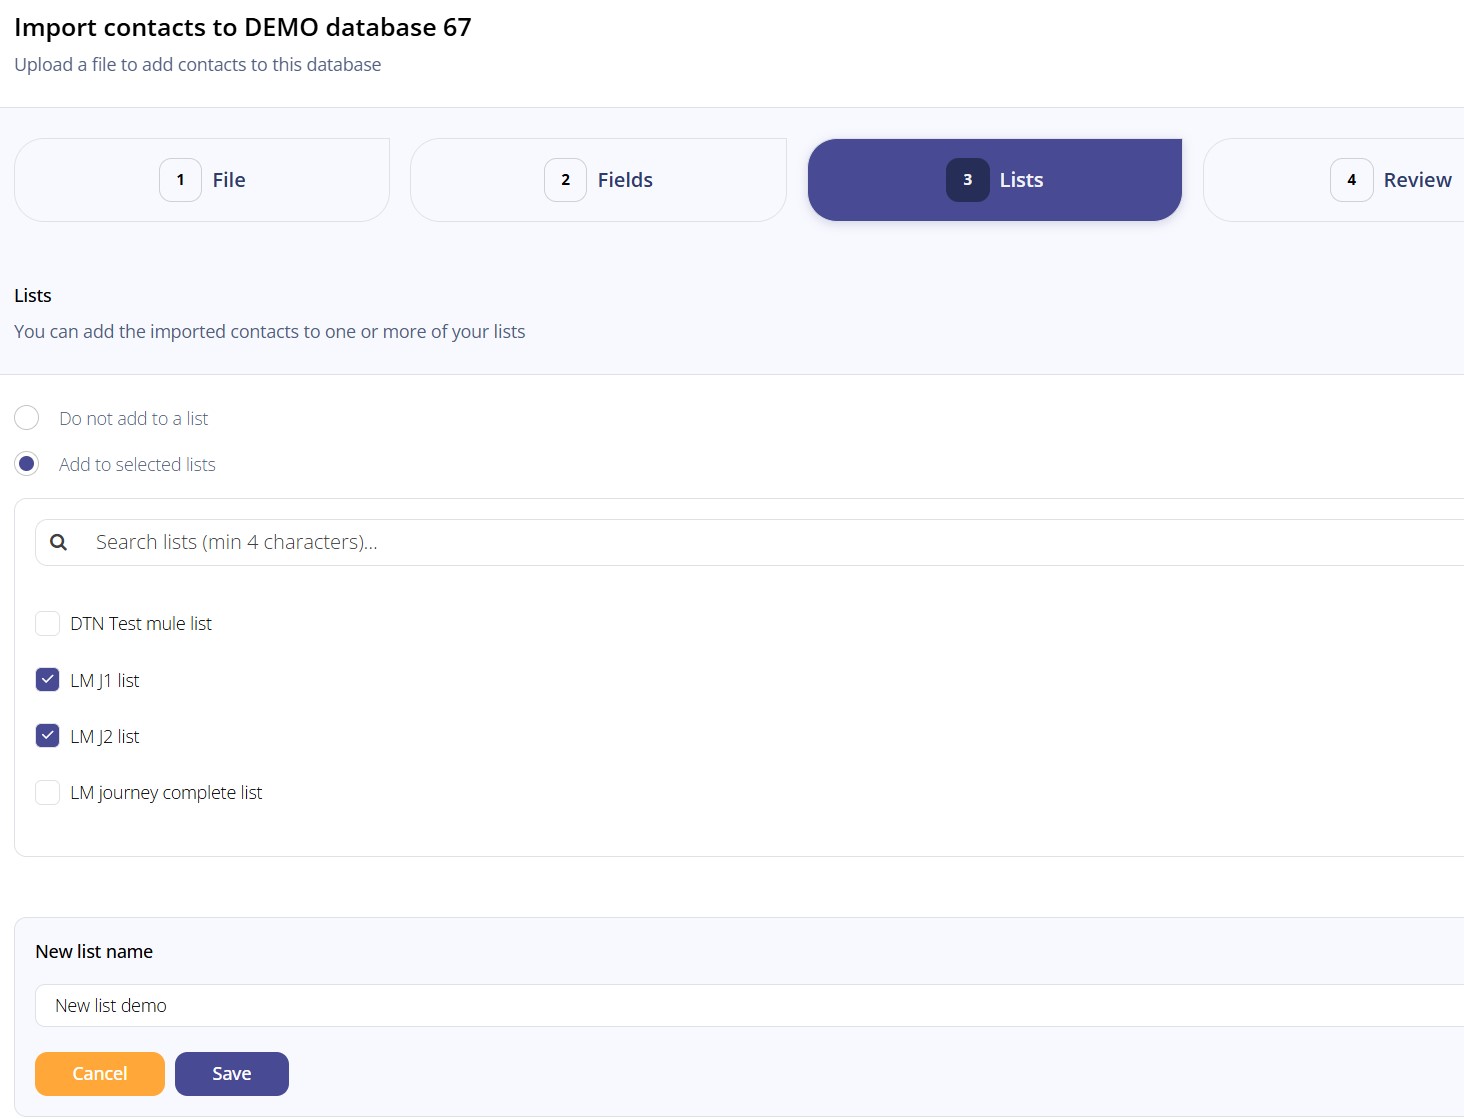
This example will illustrate adding the contacts to two existing lists and a new list:
- Check the "Add to selected lists" circular checkbox
- Select the existing lists to which you want to add the contacts
- Click the "+ Create new list" button
- Input the new list name
- Click "Save"
- Click the "Next" button.
- The next pane is Review
The Review pane provides a recap of the import details before you finalize the import. Please note that there is a confirmation checkbox near the bottom left of the pane that must be checked before the system will proceed with the import.
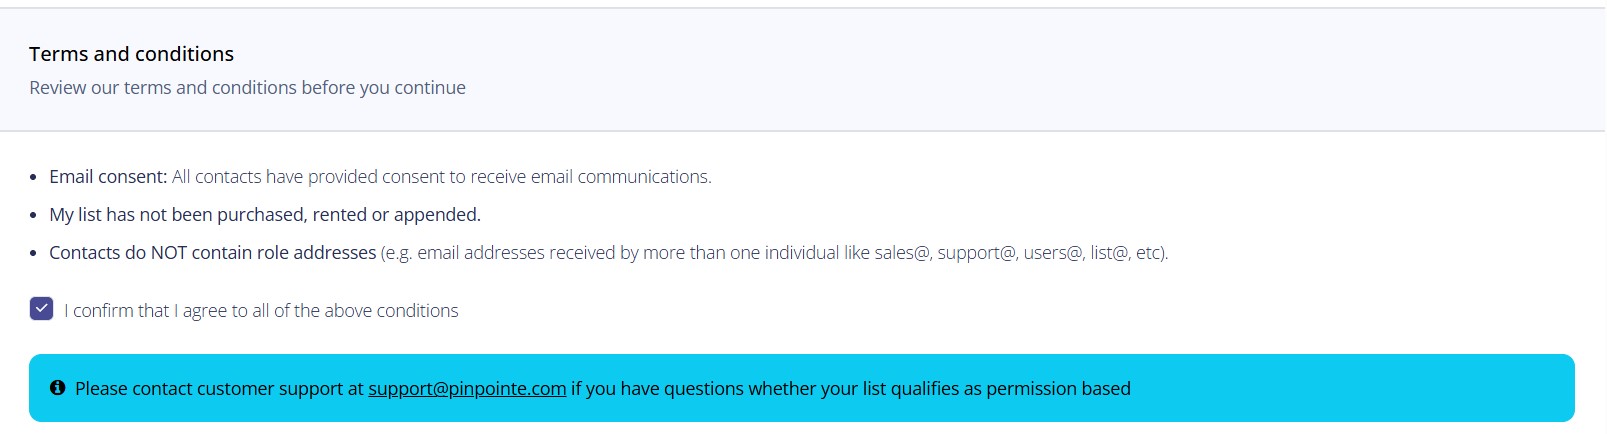
After reviewing the import details and checking the confirmation checkbox, click the "Import" button to complete the import process. After the import is complete, you will be redirected to the Import / Export section that contains the Import Queue page.