The Custom Fields page can be found in the Resources Management section. The Custom Fields page allows you to create, manage and delete your custom fields. There are three types of customer fields:
- Default fields that are both mandatory and global, meaning they are automatically added to any database created in the account. These fields are NOT editable and cannot be deleted by the user. There are currently two custom fields in this category:
- Email-Address
- MobilePhone
- Default fields that are global, meaning they are automatically available to any database created in the account. These fields are NOT editable and cannot be deleted by the user. These fields can be identified in the Custom Fields page by the fact they do not have a checkbox to the left of their ID number, and their values for the MANDATORY and GLOBAL columns are "NO" and "YES", respectively.
- Custom fields you create. These field ARE editable and can be deleted by you, and are not mandatory unless you specify it when creating the field. They are also not global by default.
NOTE: It is highly recommended you read the "New UI Basic Functions Overview" article first, as it provides an overview of all Pinpointe audience types and how the various pages and sections are accessed and structured.
TABLE OF CONTENTS
There are several ways to access the Custom Fields page in the Resources Management section.
- Select the "Custom Fields" option under the main "Resources" menu. This will take you directly to the Custom Fields page.
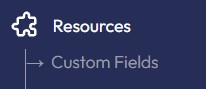
- Select any menu option under the main "Resources" menu. This will take you directly to the respective page, where you can then select Custom Fields . Ex: Selecting "Webhooks":

Creating a Custom Field
To create a custom field, click on the "Create" button near the top right of the page.
This will open the Edit Custom Field modal on the right side of the page which is comprised of two panes.
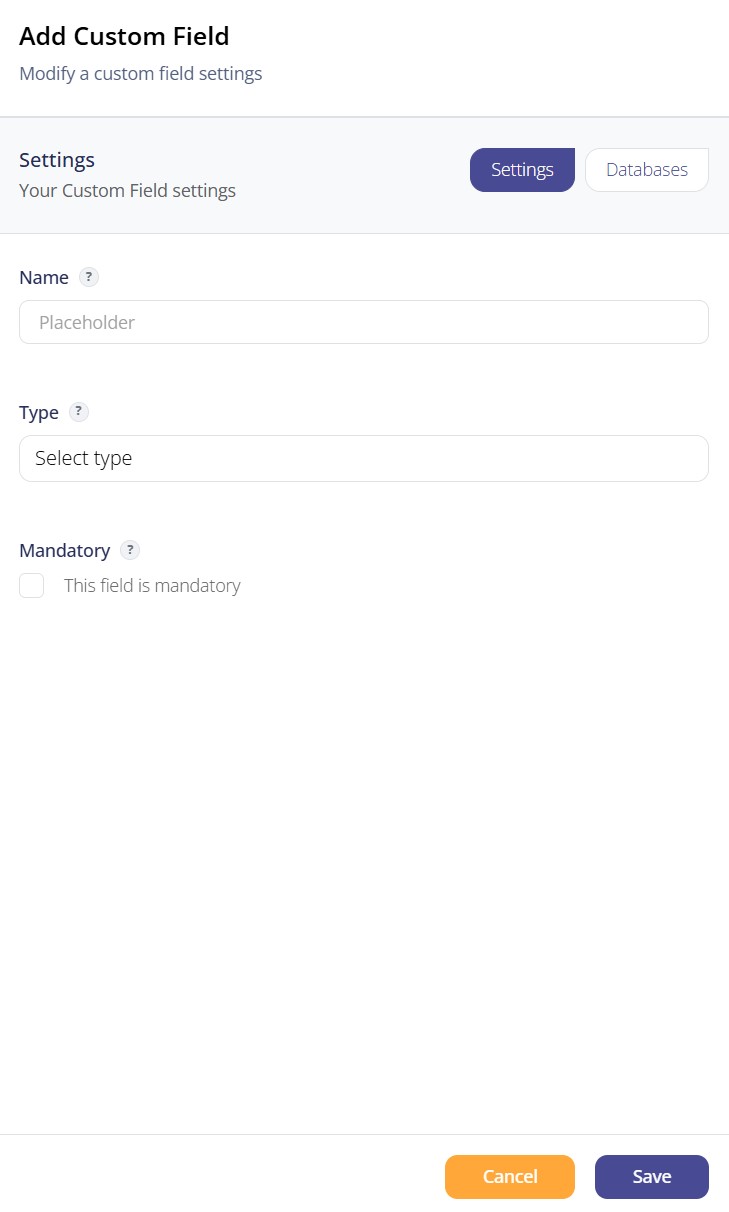
- Settings pane
The Settings contains two input fields and a checkbox:
- Name - the name of your custom field
- Type - provides a dropdown menu which allows you to select the type of field you wish to use:
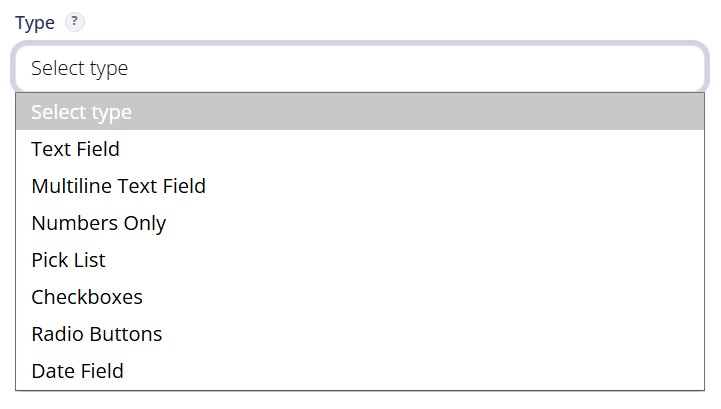
Once you select a field type, additional input fields and checkboxes will appear in the pane dependent on the type of field you selected. For this example, let's assume "Text Field" was chosen.
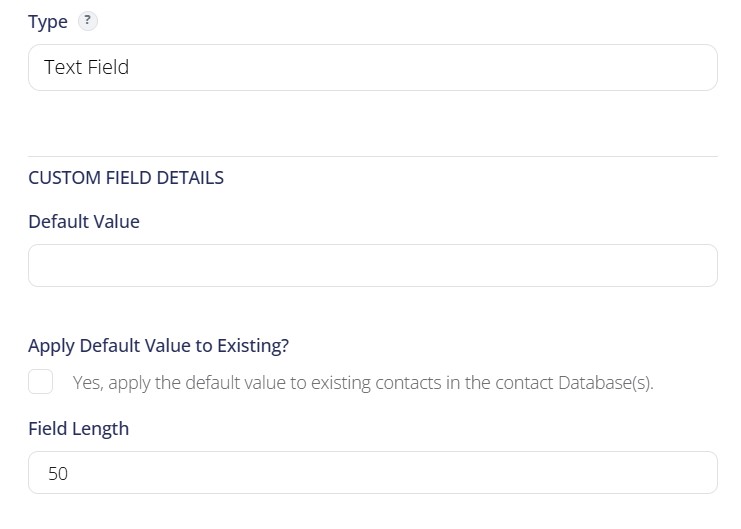
- Default Value - you can assign a default value to the field
- Apply Default Value to Existing? - applies value to existing contacts
- Field Length - assign a value large enough to accept your expected longest value for this field. Default is 50.
- Mandatory - makes the field mandatory per contact: the system will block importing those contacts without this field.
Once you are finished on the Settings pane, click the "Save" button located on the lower right-side of the pane.
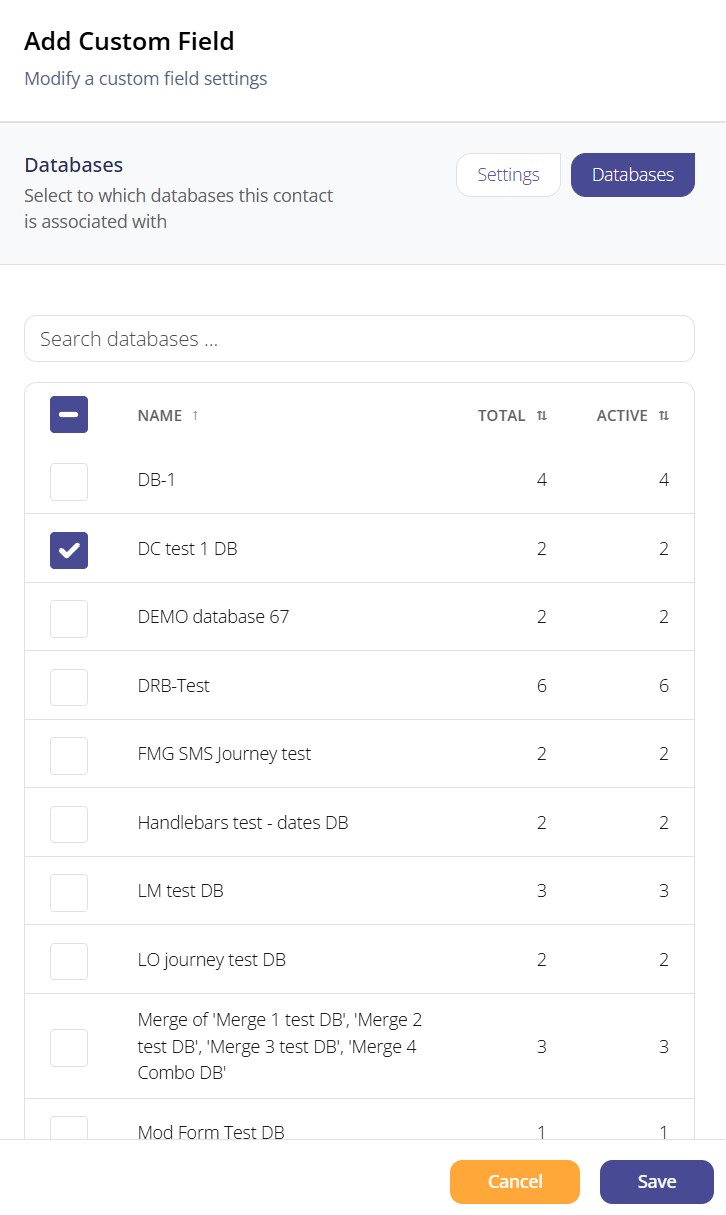
- Databases pane
The Databases pane allows to you to assign a custom field to one or more databases. Once you have selected your database(s) by checking the respective checkbox to the left of the database name, click the Save" button in the lower right-side of the pane.
Apply Action
The "Apply Action" dropdown is near the top left. You can apply an action from the dropdown list to one or more editable custom fields depending on how many are selected via the checkbox on the far left column.
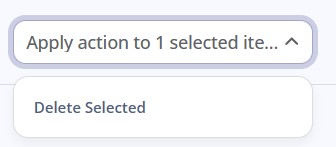
Here is a brief description of the various actions:
- Delete Selected - deletes the selected custom fields
Table Options
Clicking the small "slider" icon at the far top right of the page brings up a modal that allows you to select which columns will be viewable when viewing the page.

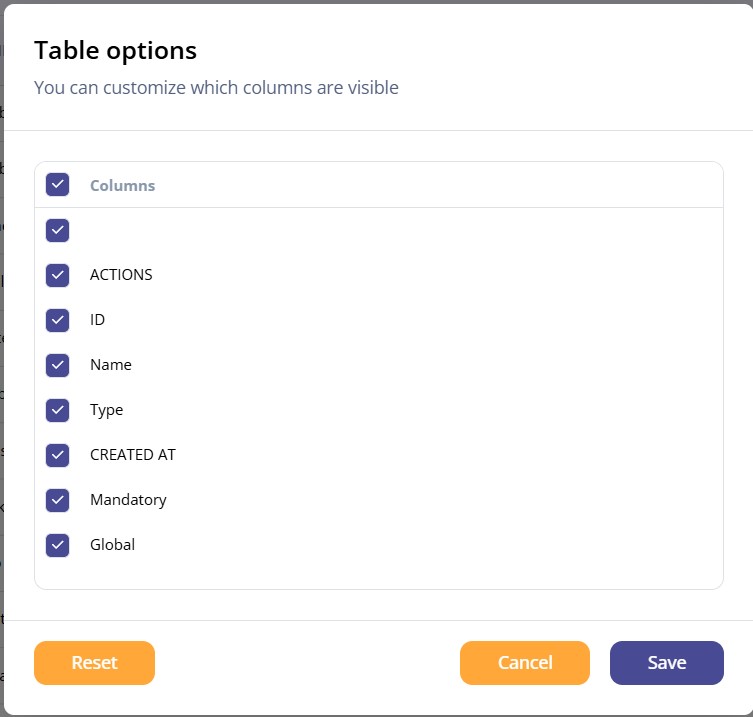
Column Controls
- The ACTIONS column allows you to select from a series of options shown in a dropdown list. Select the contact you wish to work with, then click the three horizontal dots icon in the ACTIONS column for that contact. For non-editable custom fields, you may only copy the field to your clipboard. For editable fields:
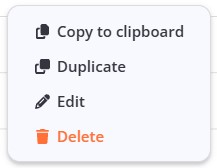
Here is a brief description of each action:
- Copy to clipboard copies the field to your your local system clipboard
- Duplicate creates a duplicate of the custom field
- Edit opens the Settings pane in the Edit Custom Field modal
- Delete lets you delete the custom field
Additional columns on the Databases page are:
- ID - the custom field's ID
- NAME - the name of the field
- TYPE - the custom field type
- CREATED AT - Timestamp of when the field was created
- MANDATORY - whether or not the field is mandatory
- GLOBAL - whether or not the field is global