The Campaigns page in the Email Campaigns section is the primary page by which to create and manage your email campaigns.
NOTE: It is highly recommended you read the "New UI Basic Functions Overview" article first, as it provides an overview of all Pinpointe audience types and how the various pages and sections are accessed and structured.
TABLE OF CONTENTS
There are several ways to access the Campaigns page in the Email Campaigns section.
- Select the "Manage Email Messages" option under the main "Messages" menu. This will take you directly to the Campaigns page.
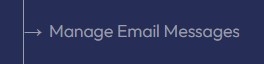
- Select the "Email Message Queue" option under the main "Messages" menu. This will take you directly to the Message Queue page, where you can then select Campaigns. Ex: Selecting "Email Message Queue":

Creating a campaign
To create a new campaign, click the "Create" button at the top right of the Campaigns page. This brings up the Create Email Message modal on the right side of the page comprised of a single pane with three input fields / checkboxes.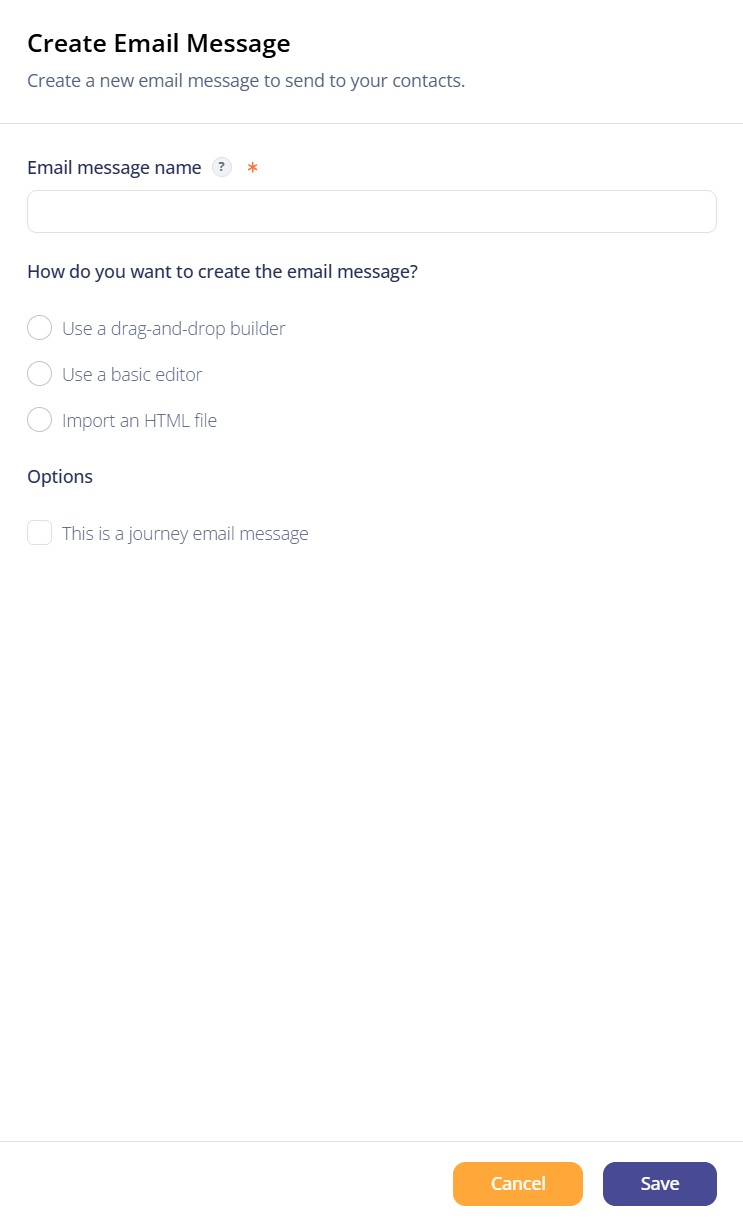
- Email message name - where you input the name of the campaign
- How do you want to create the email message? - a series of three checkboxes which allow you to choose between the Drag & Drop Builder or the Basic Editor.
- Checking the Drag & Drop Builder and clicking "Save" will redirect you to the Builder's Template List page where you can select a premade template or start with a blank newsletter or journey campaign.
- Checking the "Use a basic editor" checkbox will redirect you to the Basic Editor code/render canvas.
- Checking the "Import an HTML file" checkbox will redirect you to the Basic Editor code/render canvas, but it will be overlaid with the Import HTML modal to assist you in uploading a folder or file.
- Options - Check this box if you want the campaign you are creating to be a journey-type campaign instead of the default newsletter-type campaign
There are a few notable actions you can take on the Campaigns page:
- Apply Actions dropdown near top left. You can apply an action from the drop down list to one or more campaigns depending on how many are selected via the checkbox on the far left column. The available actions are fairly self-explanatory, but should you need assistance, please contact Pinpointe Support.
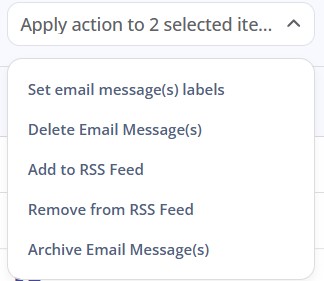
Here is a brief description of the various actions:
- Set email message(s) labels - allows you to apply one or more labels to one or more campaigns
- Delete Email Messages - allows you to delete one or more campaigns
- Add to RSS Feed - allows you to add one or more campaigns to your RSS feed
- Archive Email Messages - allows you to archive one or more campaigns
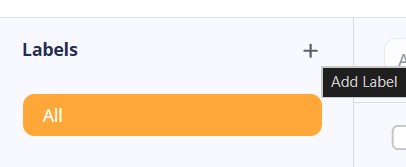
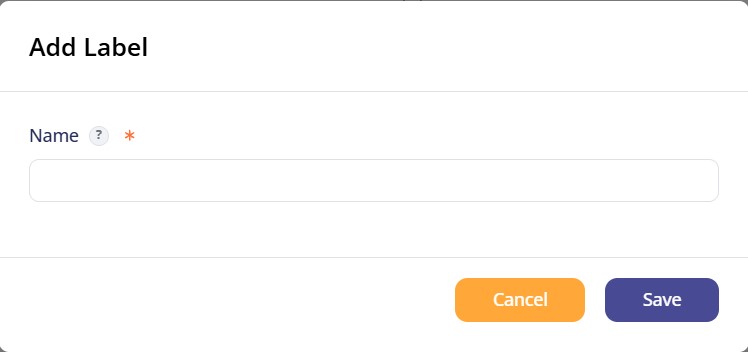
- Create a new Label by clicking the small "tag" icon near the top right of the page. Doing so brings up a modal that allows you add new Labels that can then be applied to your campaigns.

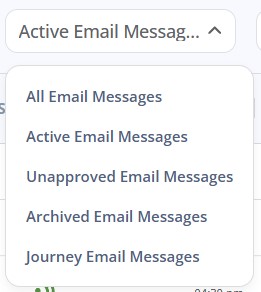
- Message Sorting by Status
To the immediate right of the "tag" icon you will find a message status dropdown menu that allows you display a subset of your campaigns based on their status.
- Table Options - clicking the small "slider" icon at the far top right of the page brings up a modal that allows you to select which columns will be viewable when viewing the page.

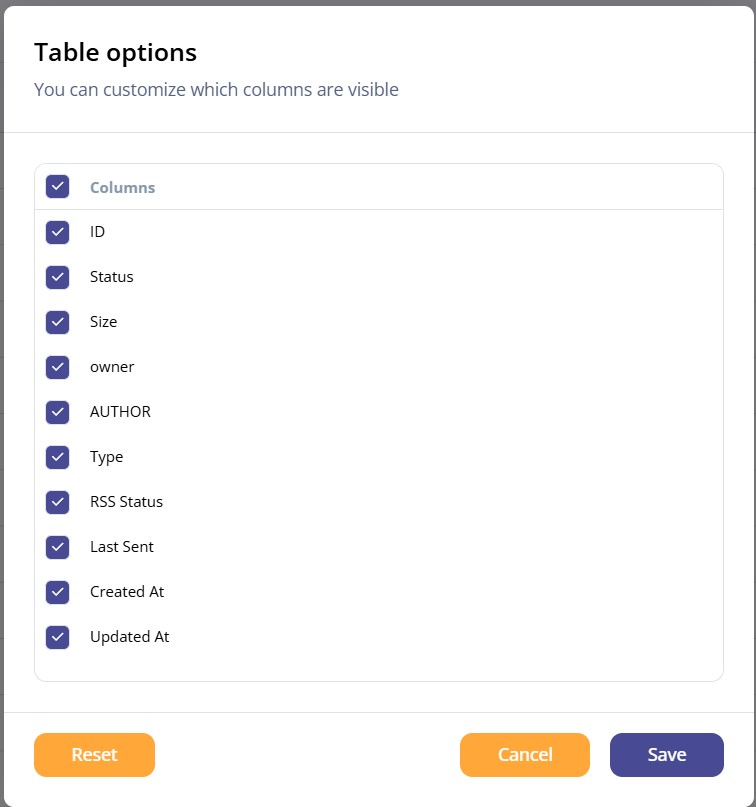
Column Controls
- The ACTIONS column allows you to select from a series of options shown in a drop down list. Find the campaign you wish to work with, then click the three horizontal dots icon in the ACTIONS column for that campaign.
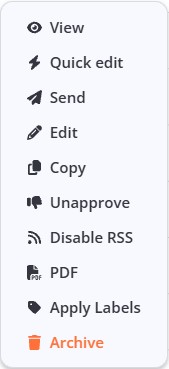
Here is a brief description of each action:
- View - renders the campaign in the browser for review
- Quick edit - opens a pane that allows you to change the name / subject of the campaign, or to open the campaign in Builder or Editor for more extensive editing
- Send - initiates the send process for the campaign
- Edit - opens the Builder or the Basic Editor, depending on where the campaign was initially constructed
- Copy - copies the campaign
- Unapprove - changes the status of an approved campaign to unapproved
- Disable RSS - disables the RSS feed for this campaign
- PDF - generates a PDF file of the campaign
- Apply Labels - allows you to apply one or more labels to the campaign
- Archive - moves the campaign form the "active" area to the "archive" area
Additional columns on the CAMPAIGNS page are:
- NAME + SUBJECT - name and subject of the campaign
- ID - the ID number for your campaign
- STATUS - the status of the campaign
- SIZE - the size in kilobytes of the campaign. Pertains mainly to the Gmail 102kb restriction.
- OWNER - the user who owns the campaign
- AUTHOR - The user who created the campaign
- TYPE - whether the campaign was built in the Builder or the Basic Editor
- RSS STATUS - displays via color indicator whether or not the RSS feed is enabled for the campaign: green for affirmative, red for negative
- LAST SENT - the timestamp for the most recent send event for the campaign
- CREATED AT - the timestamp of when the campaign was first created
- UPDATED AT - the timestamp of when the campaign was last updated via edit