In the Pinpointe New UI, creating and editing segments have a new look.
Let's go through some examples of each!
TABLE OF CONTENTS
Creating Segments
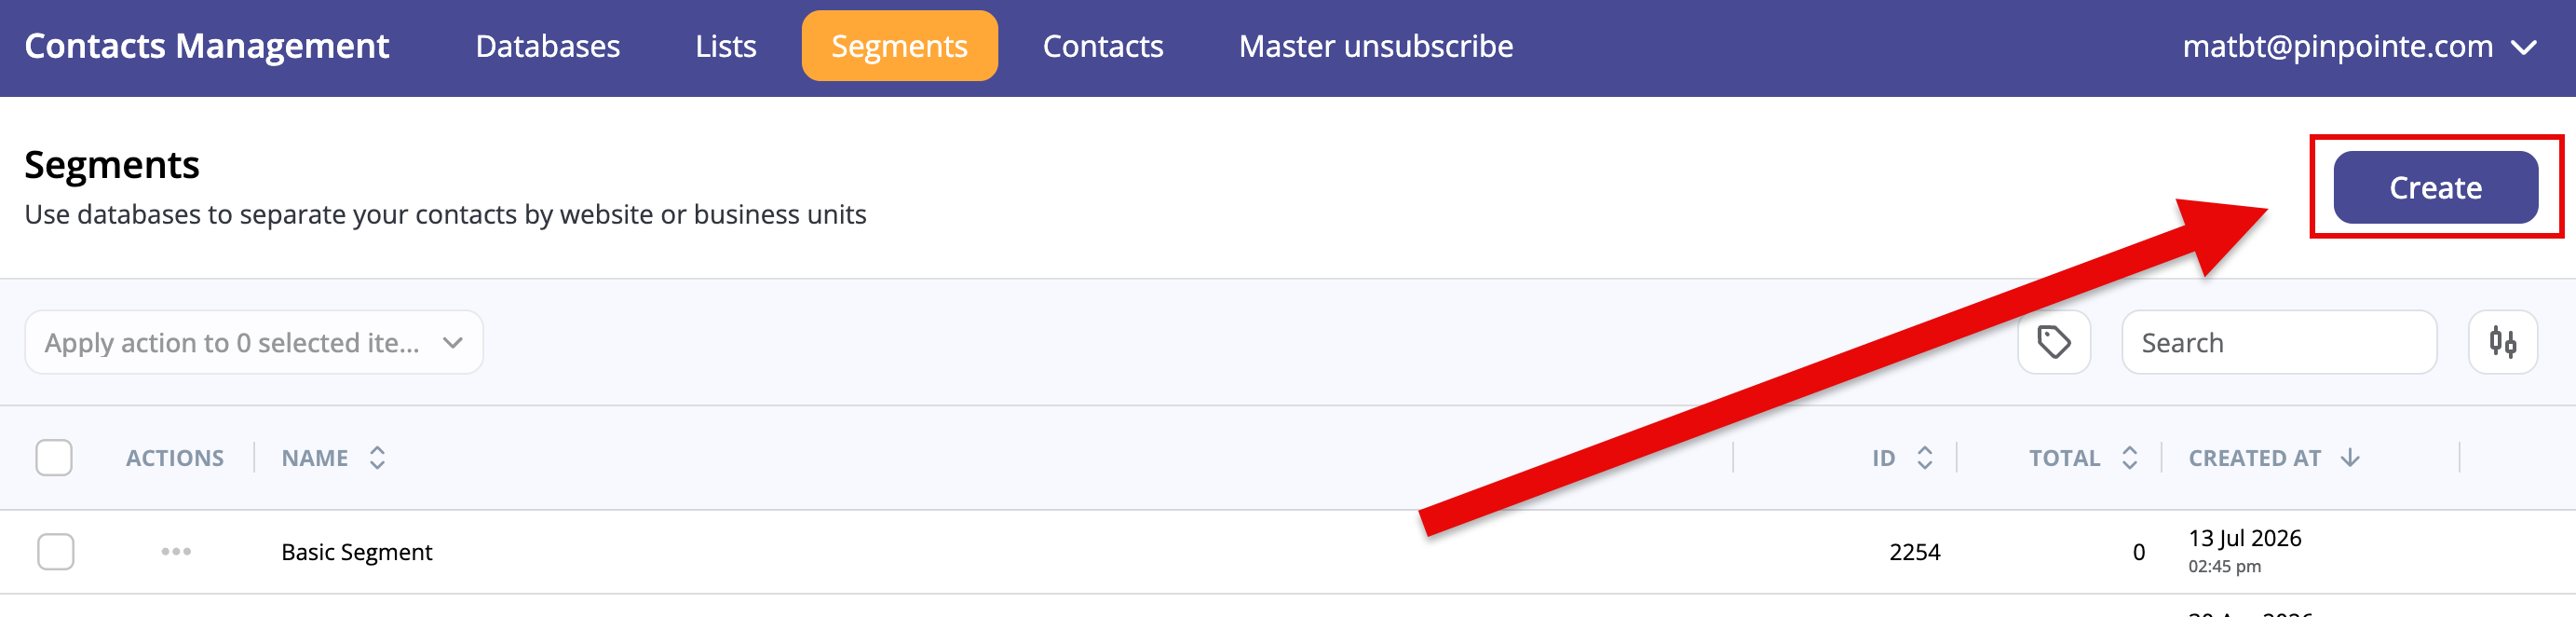
On the Segments page, click the "Create" button in the upper right (Fig 1).
Fig 1
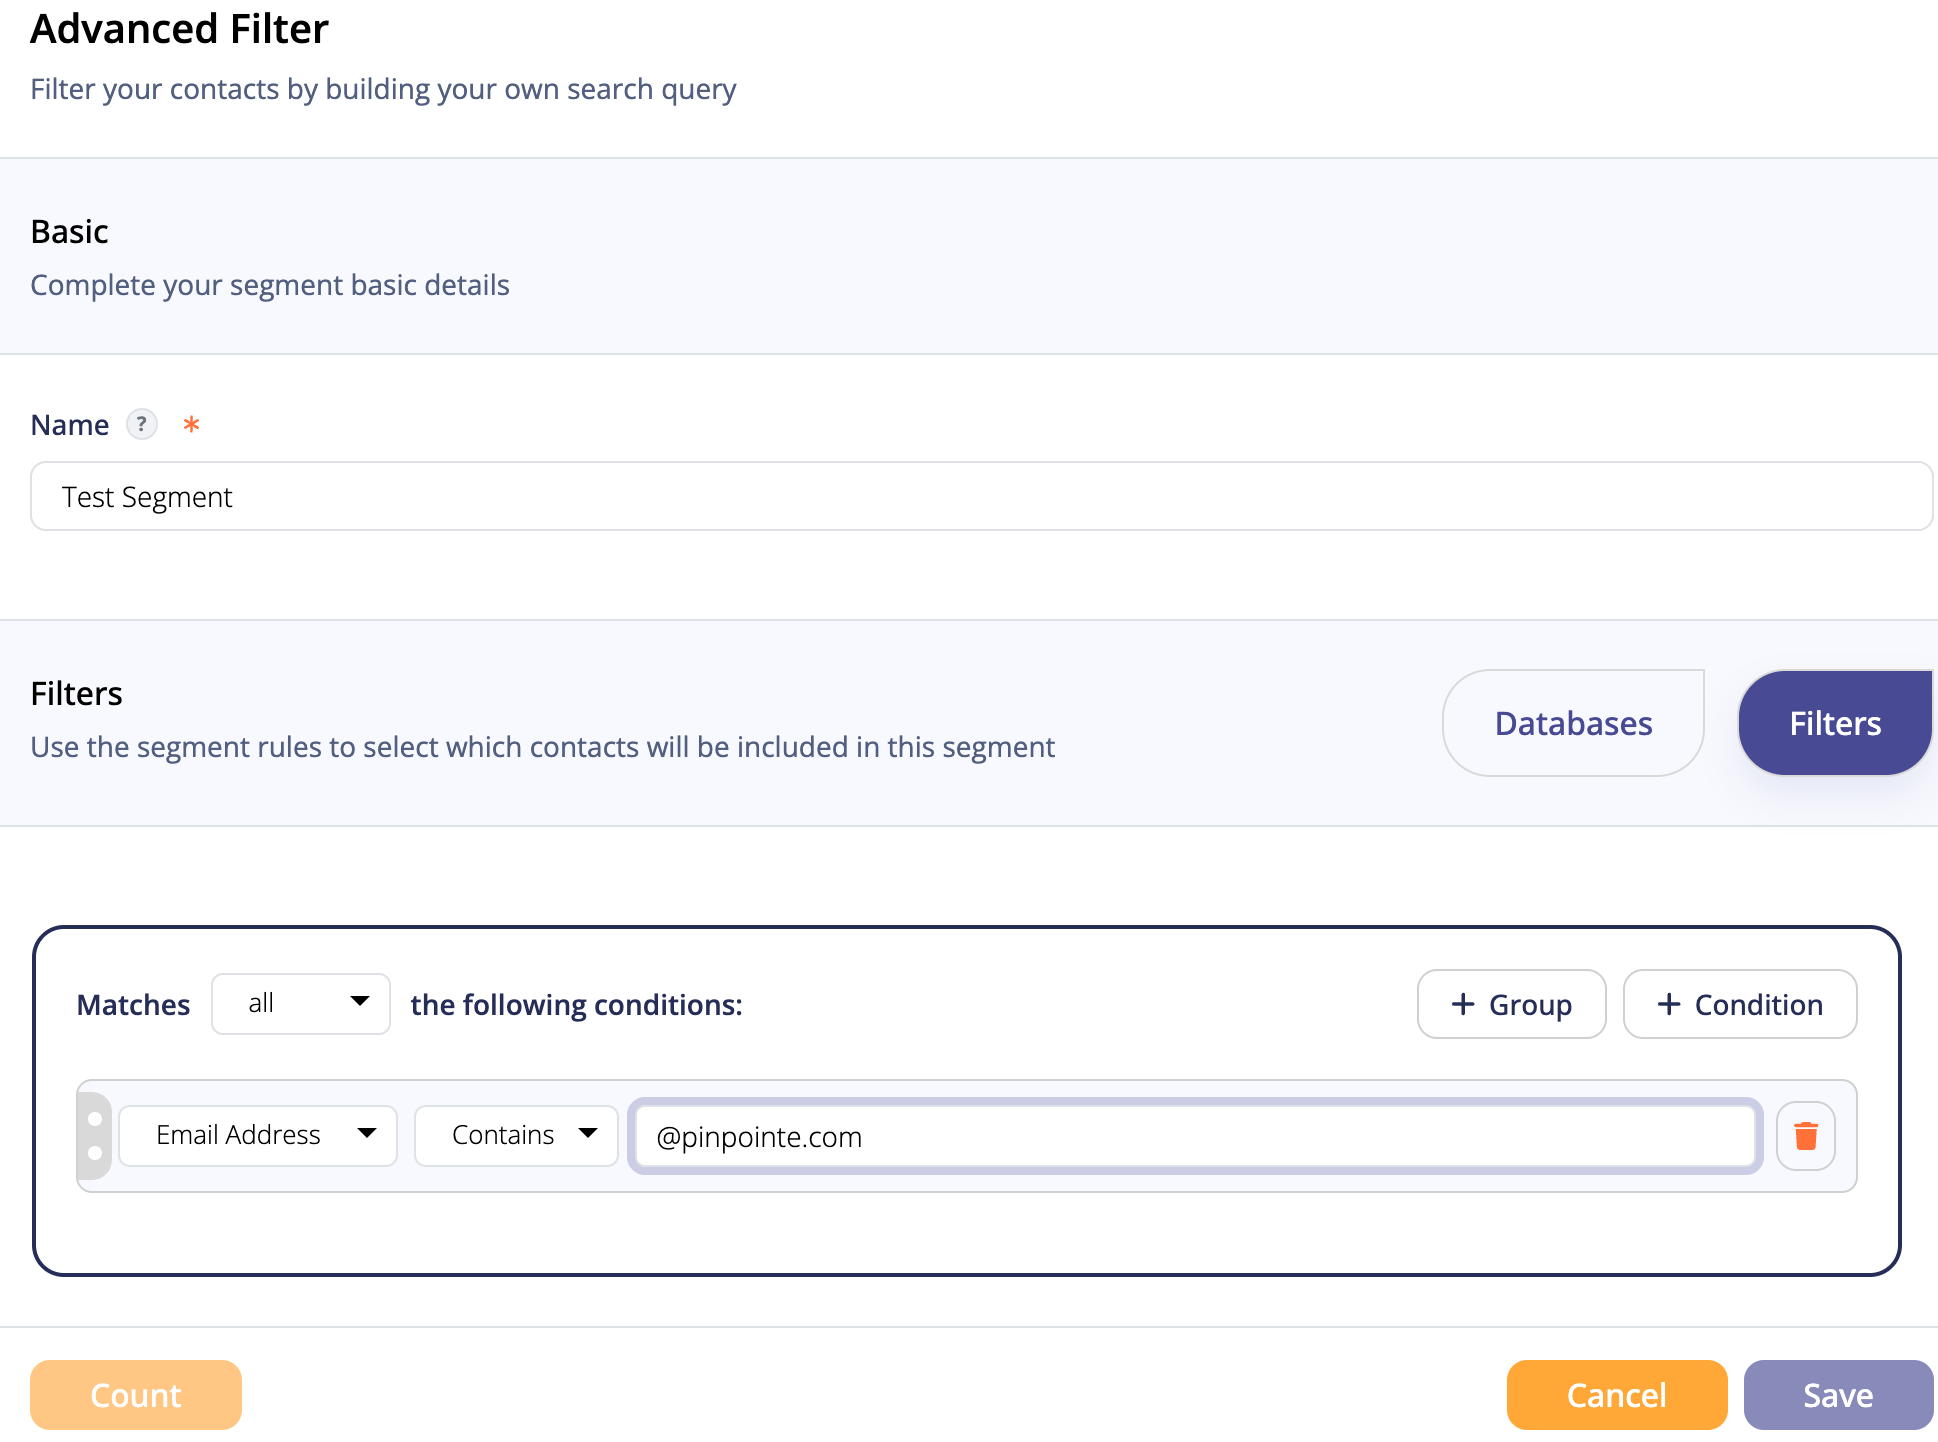
The Segments modal will open with the Filters tab selected (Fig 2).
Fill out the Name, add a Filter, then click on the Database tab.
Fig 2
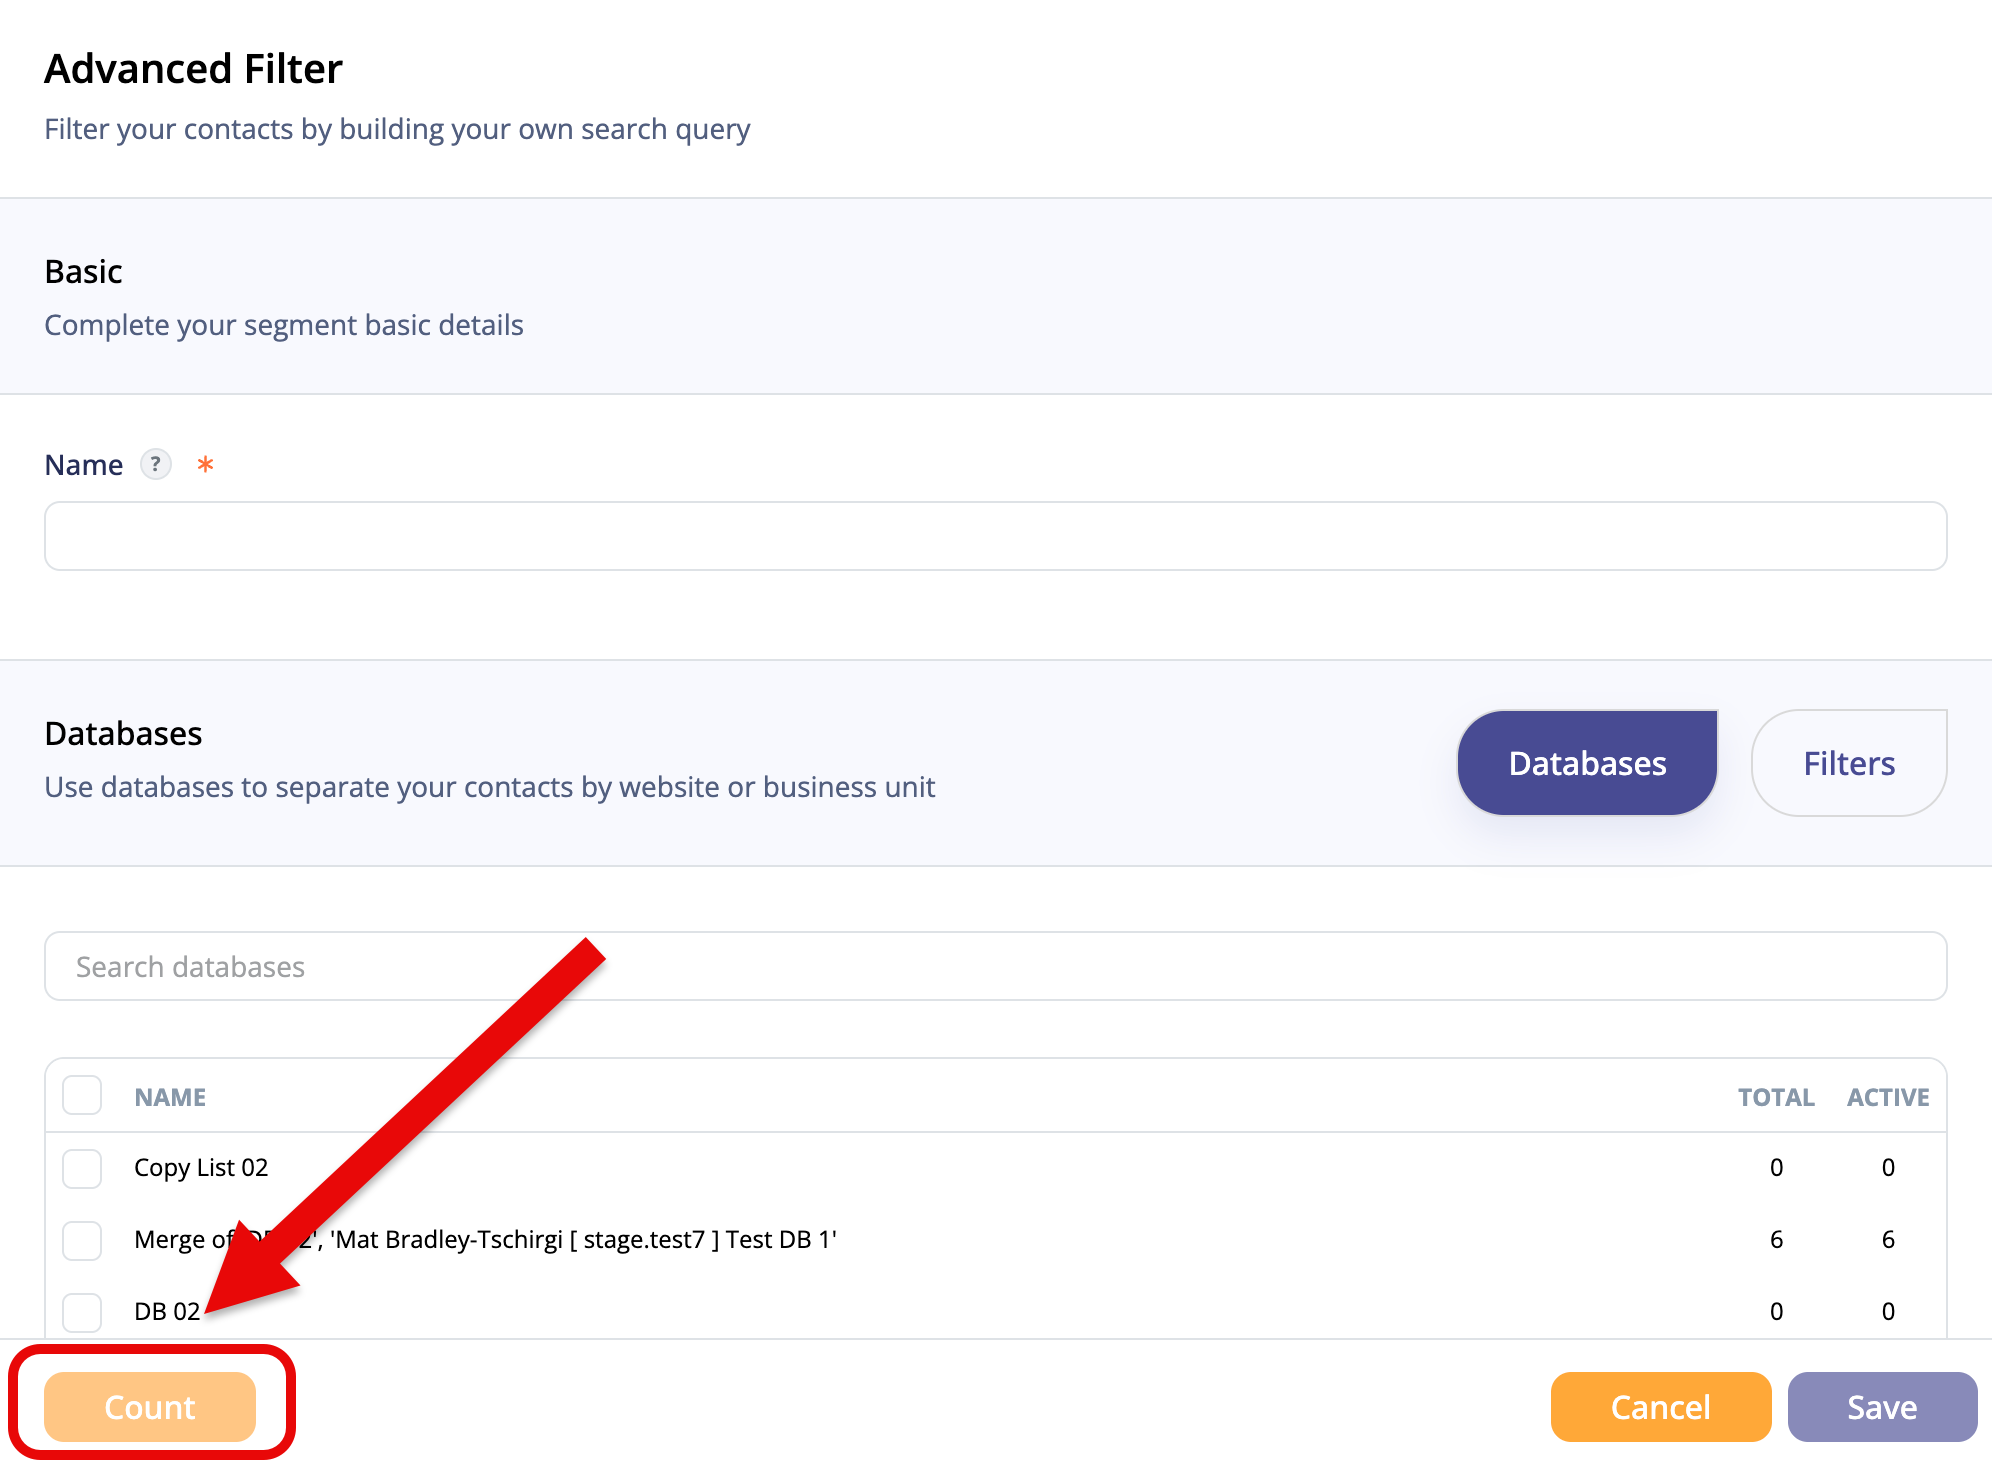
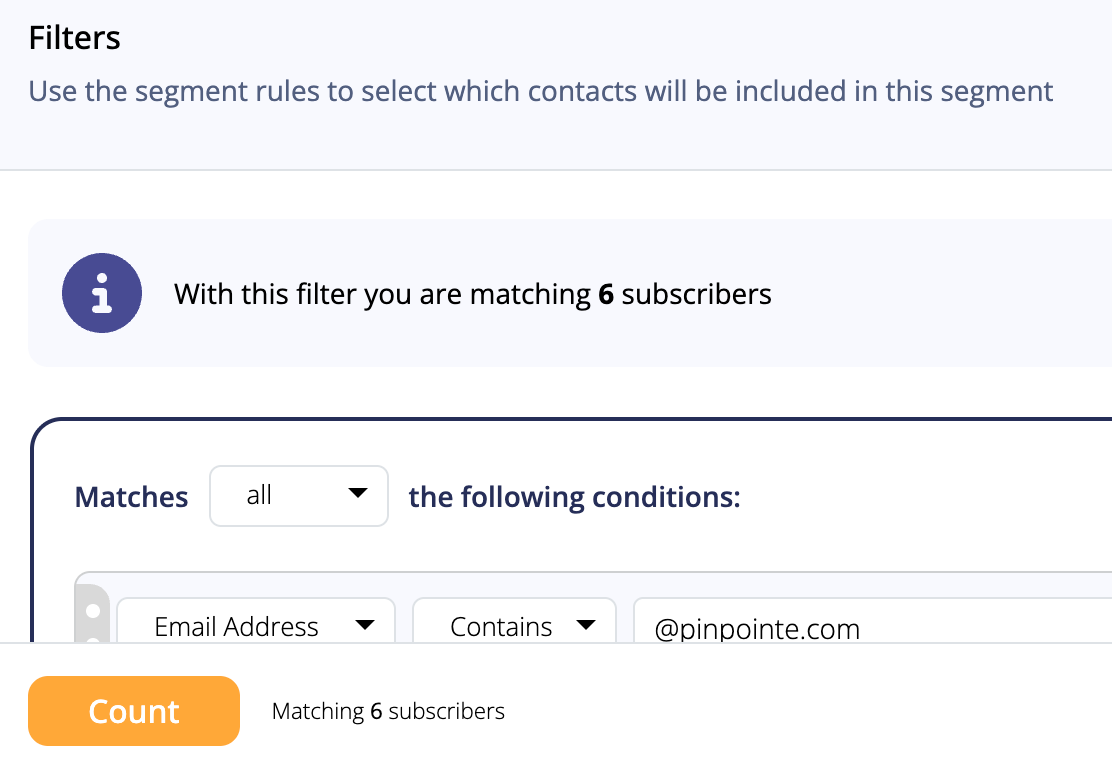
Select the databases you'd like the Segment to apply to. If you click on the Count button, you can see how many users from the particular filter apply to the database you had things on (Fig 3).
Fig 3
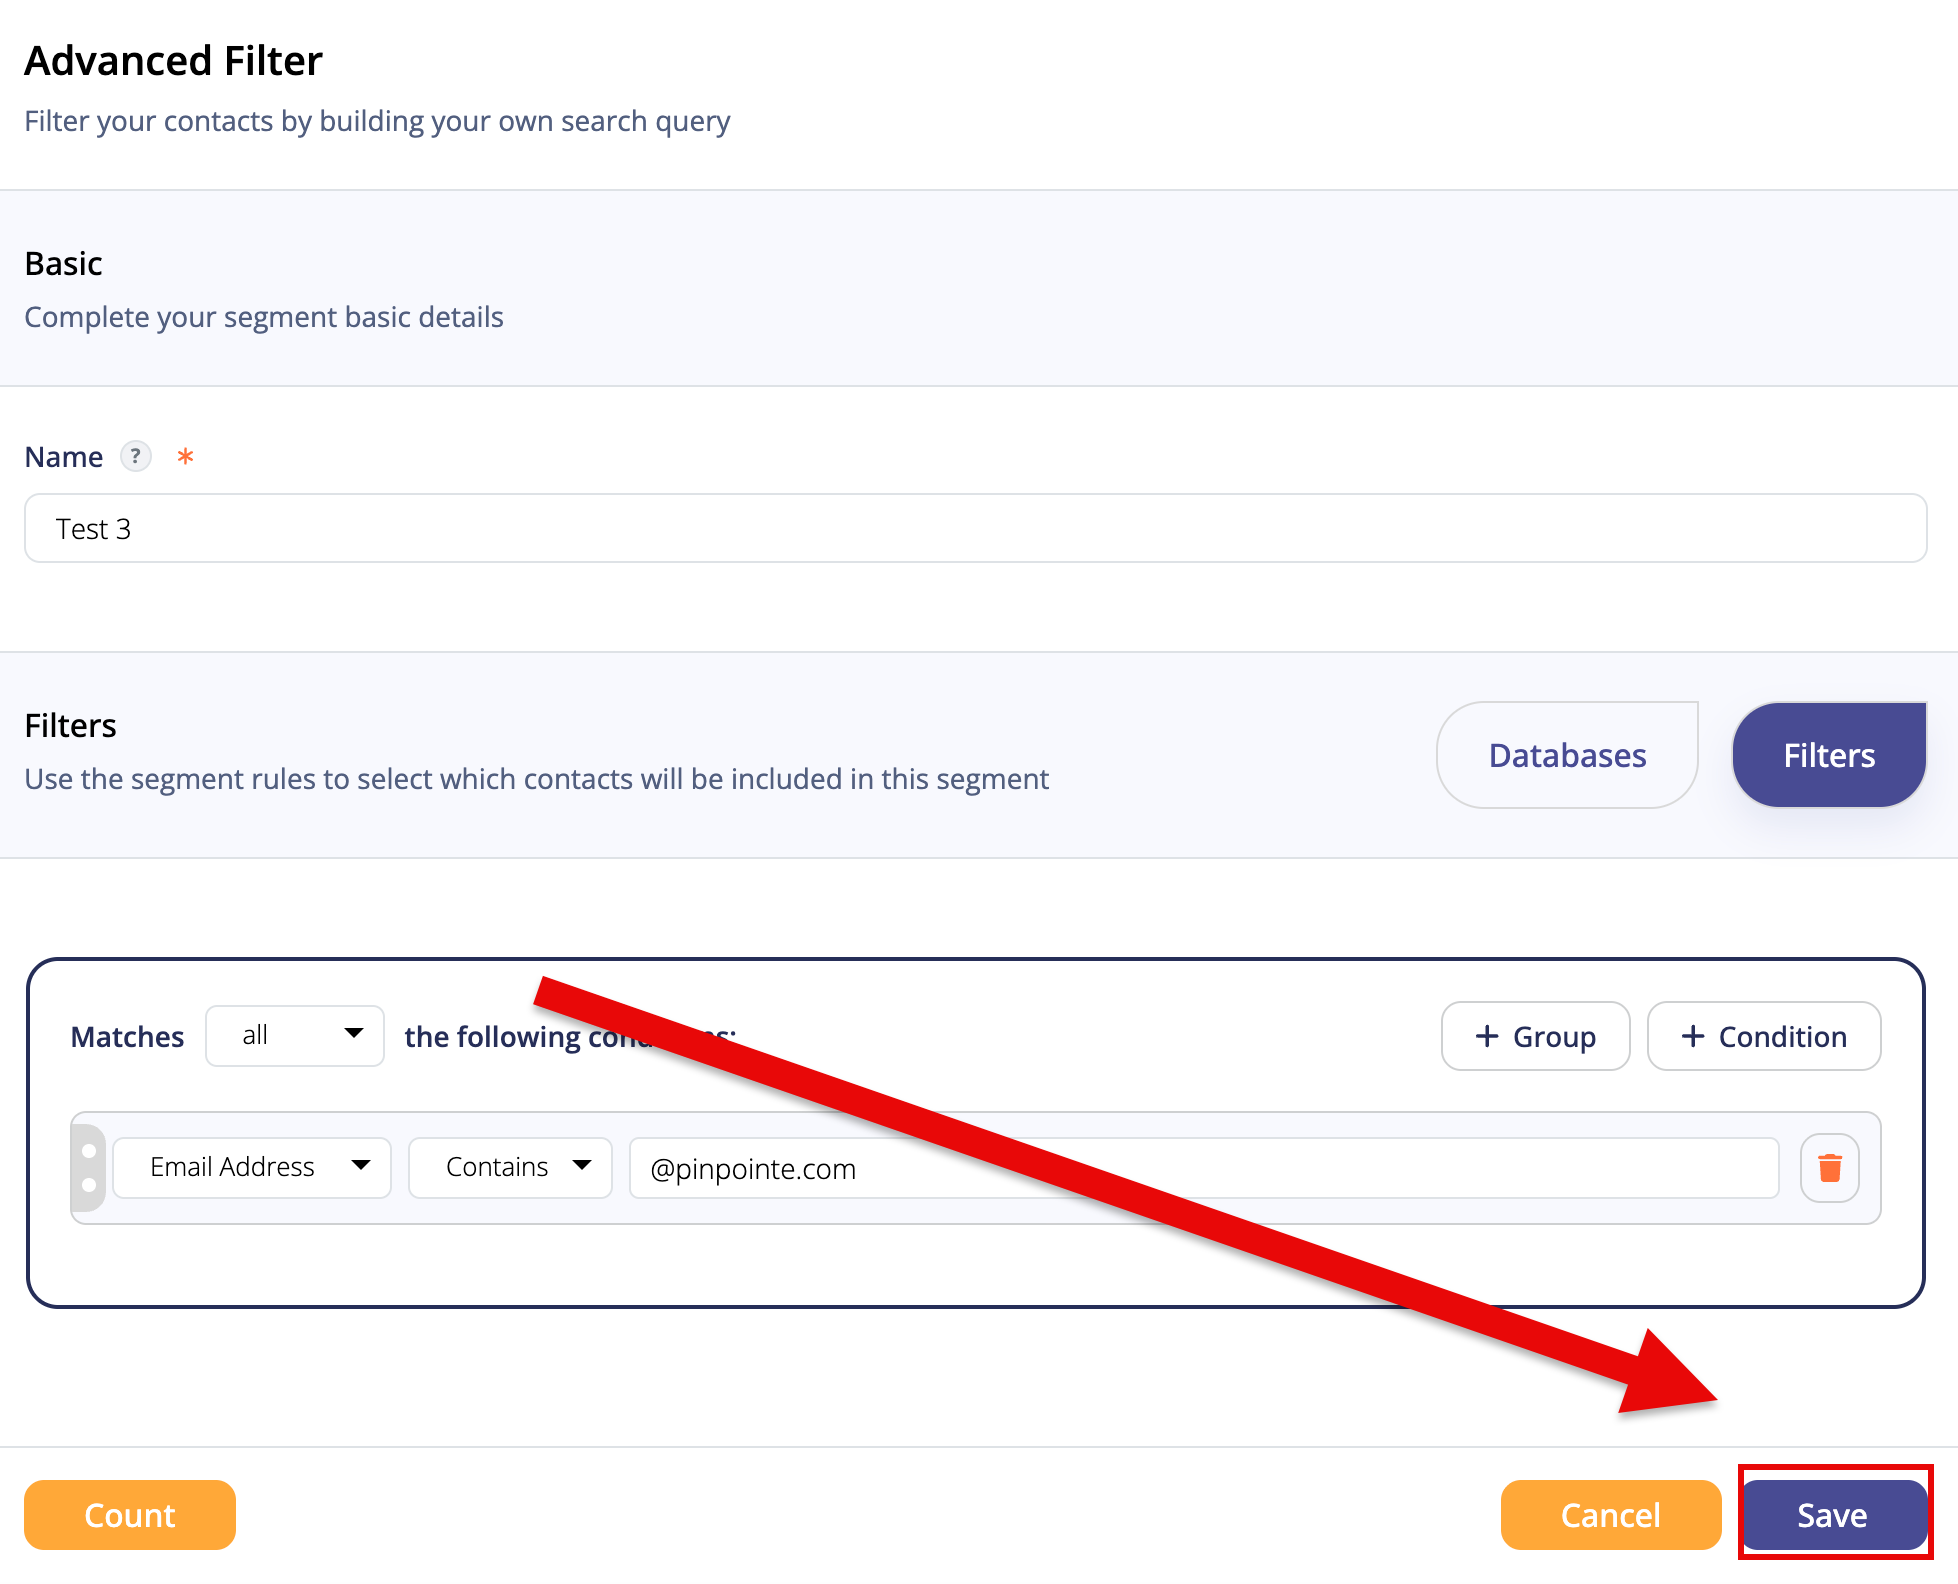
Now, you will see how many subscribers apply with the filter settings we just configured (Fig 4). This is a good way to test your filter is working.
Click on the "Save" button to save your Segment.
Fig 4
After the Segment is created, you'll see a green pop-up graphic in the upper-right corner (Fig 5).
Fig 5

Editing Segment
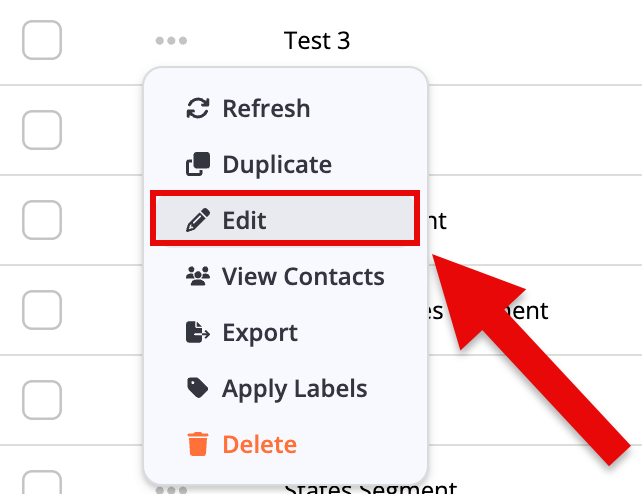
In the Actions column, click the "..." icon next to the Segment you want to edit.
This pulls up the Actions menu; click "Edit" on the menu (Fig 6).
Fig 6
This will open up the Segment so you can edit it.
When you're all done with your changes, click on Save to return to the Segments page (Fig 7).
Fig 7