To be compliant with Pinpointe's forms, you need to ensure your database names are named appropriately with proper descriptions. While database descriptions are optional, they are highly recommended since they give subscribers a clear understanding of what they are signing up for and/or unsubscribing to.
There are a few different ways to update databases.
TABLE OF CONTENTS
New UI
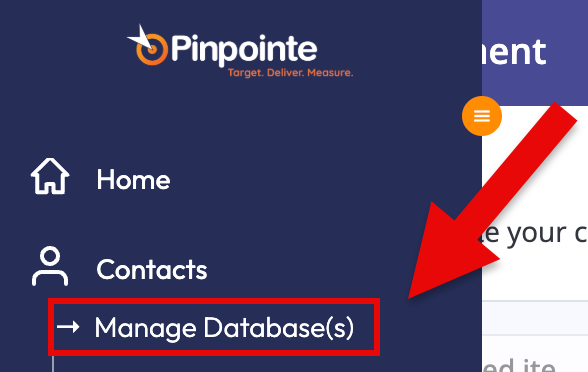
Click "Contacts" on the Navigation menu then select, then click "Manage Databases" (Fig 1).
Fig 1
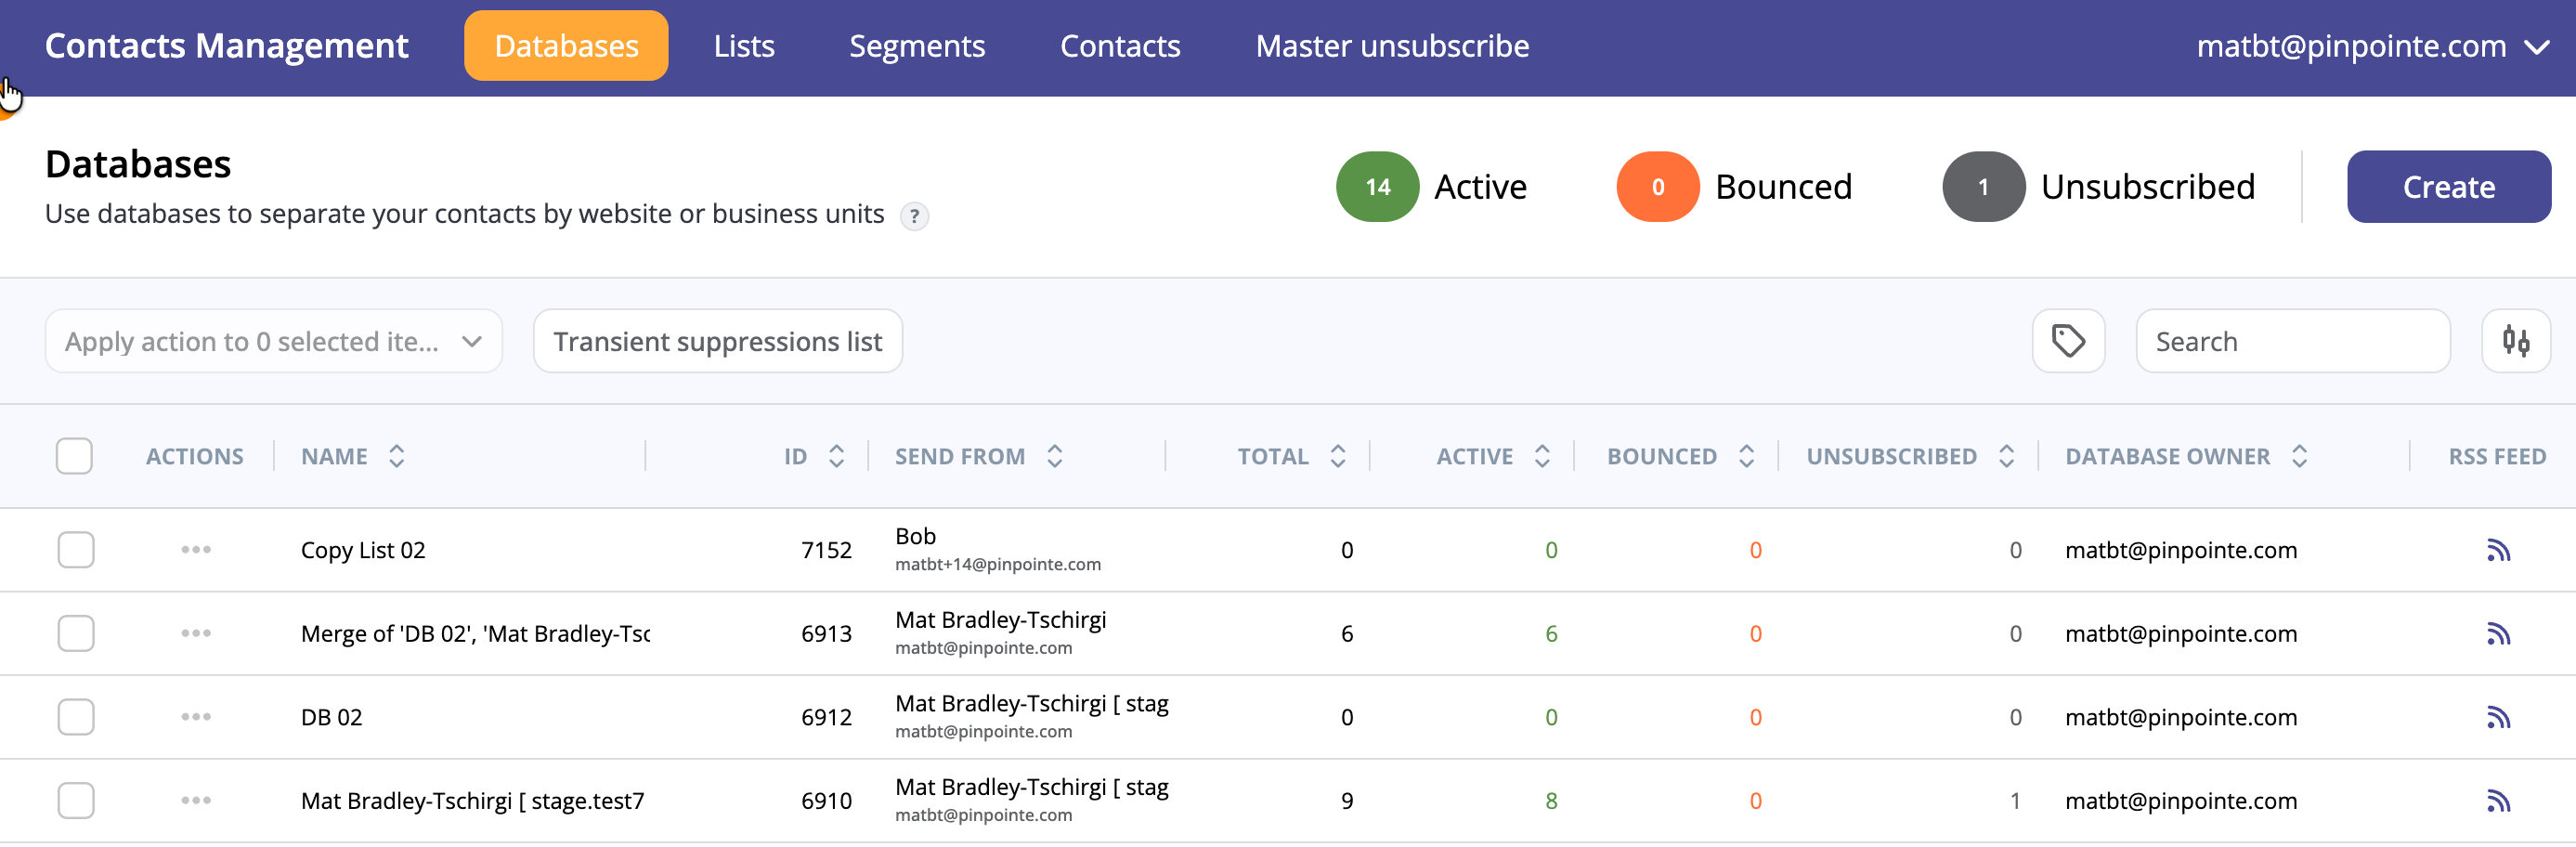
This will display the New UI for the Databases screen (Fig 2).
Fig 2
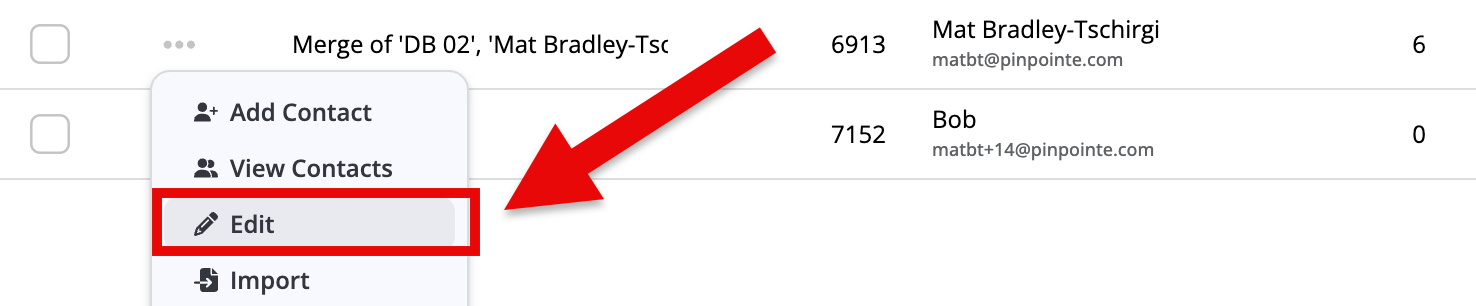
On the Databases page, click "..." icon in the Actions column and click on "Edit" to edit your database. (Fig 3)
Fig 3
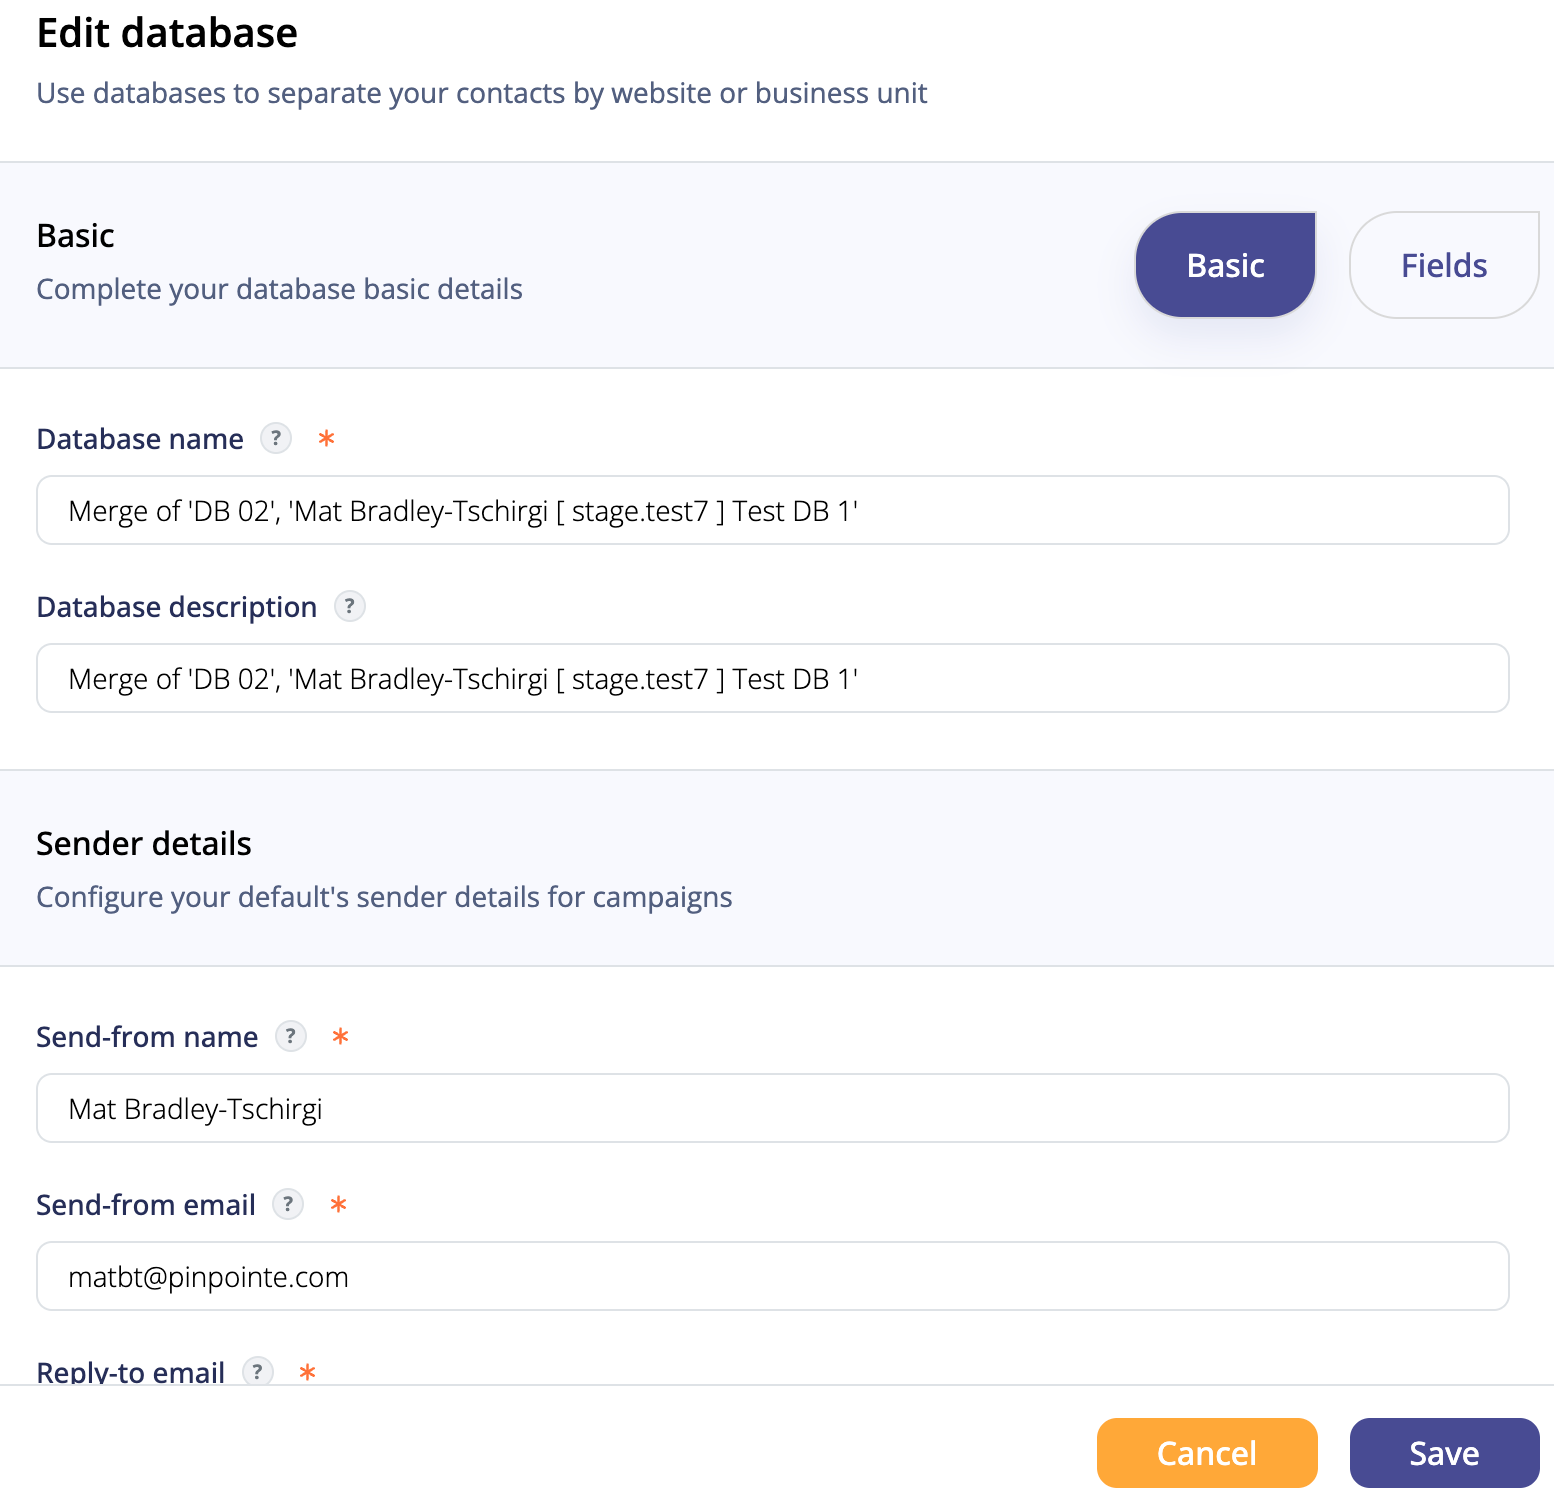
From here, you can make changes to basic details for a database (Fig 4).
Fig 4
If you want to Customize the fields in your database, click the Fields button (Fig 5). Again, when you're finished, click the Save button to save your changes.
Fig 5
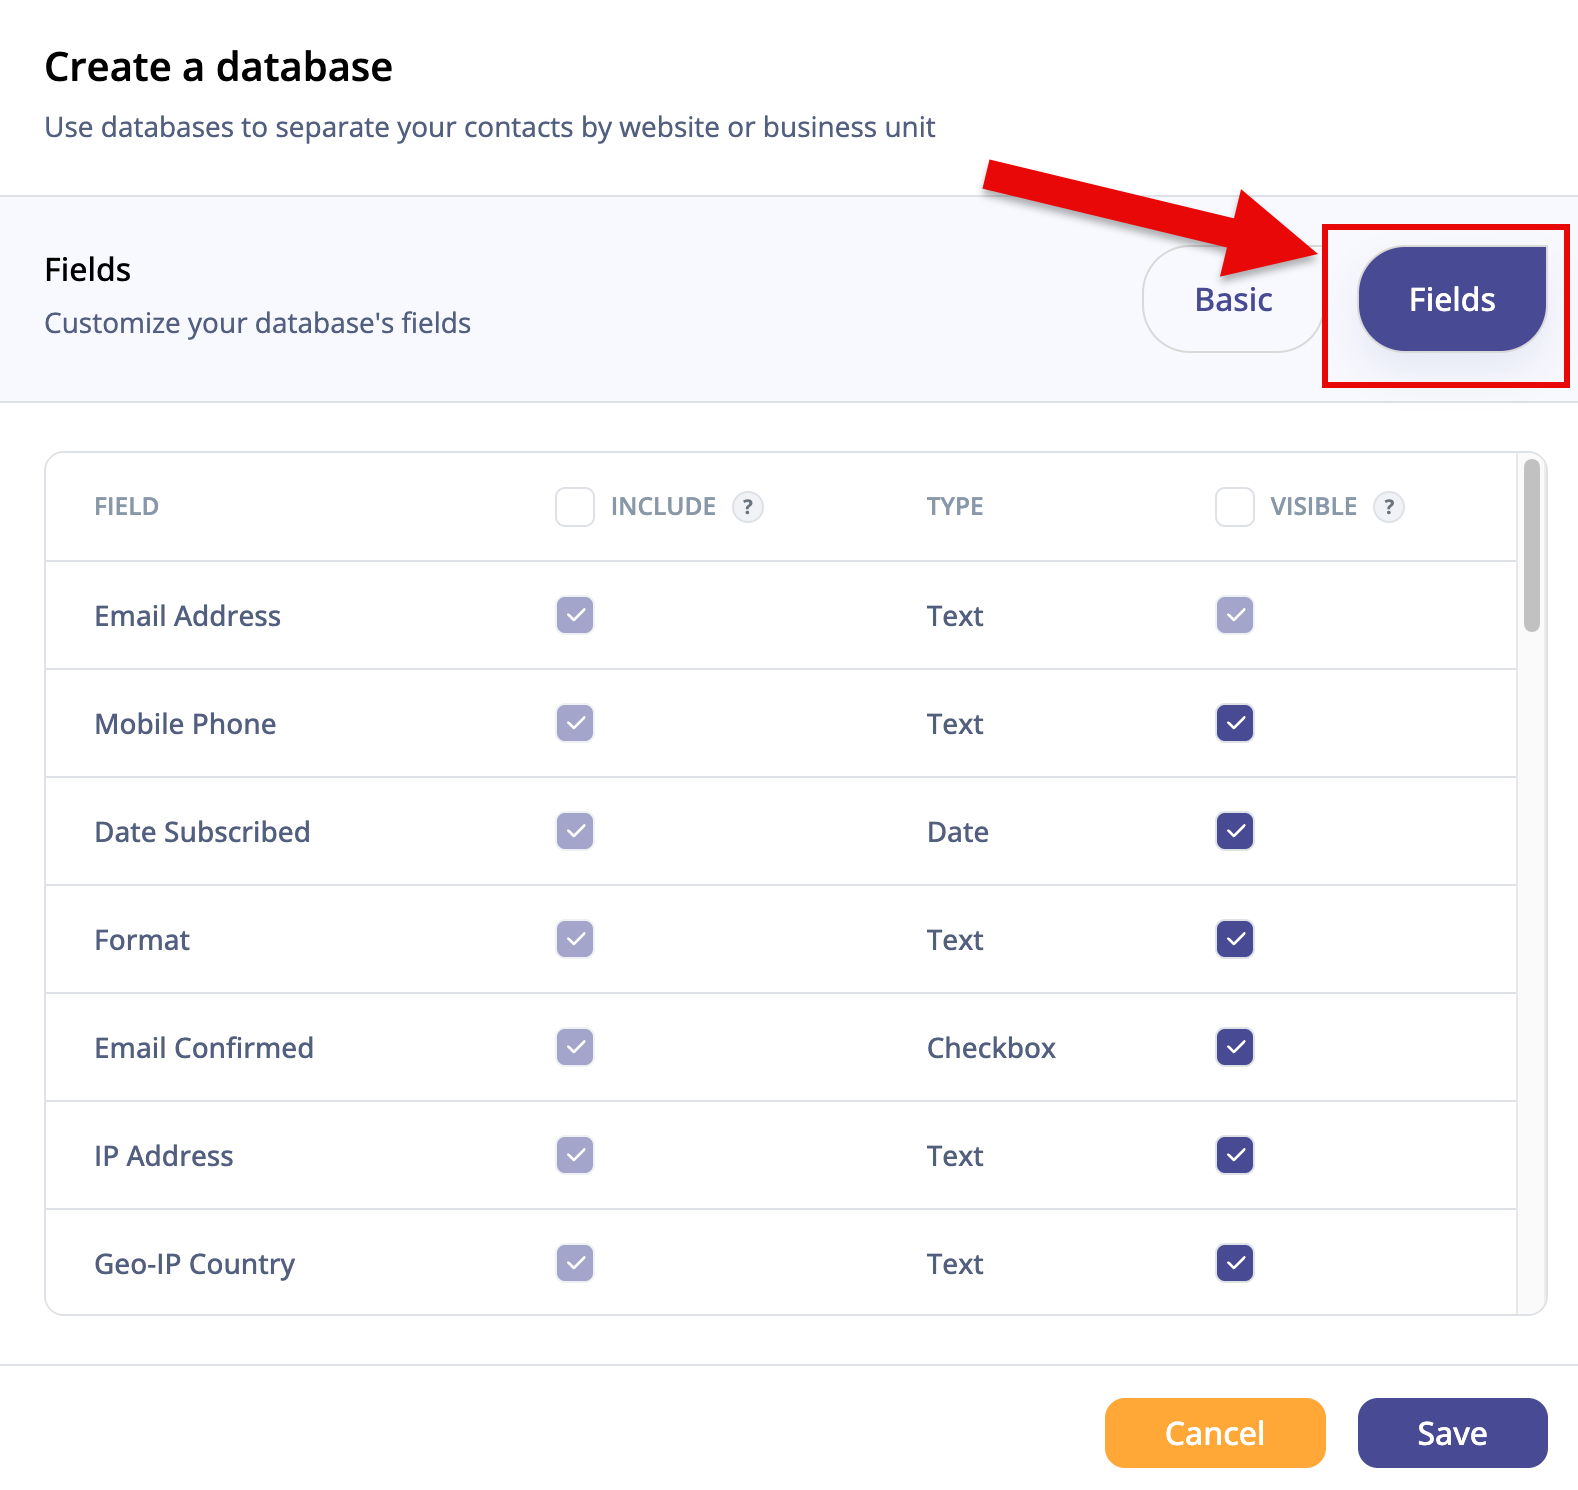
When you're done make your changes, click on "Save" to return to the Databases page.
Legacy UI
Updating your list names and add a list description:
Click on the "Manage Databases" link on the home screen (Fig 6).
Fig 6
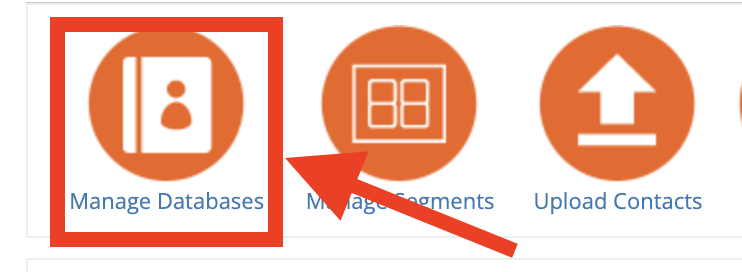
Review your databases and click the blue Edit link (you'll find this to the far right of its name) for each database you would like to edit (Fig 7).

Fig 8
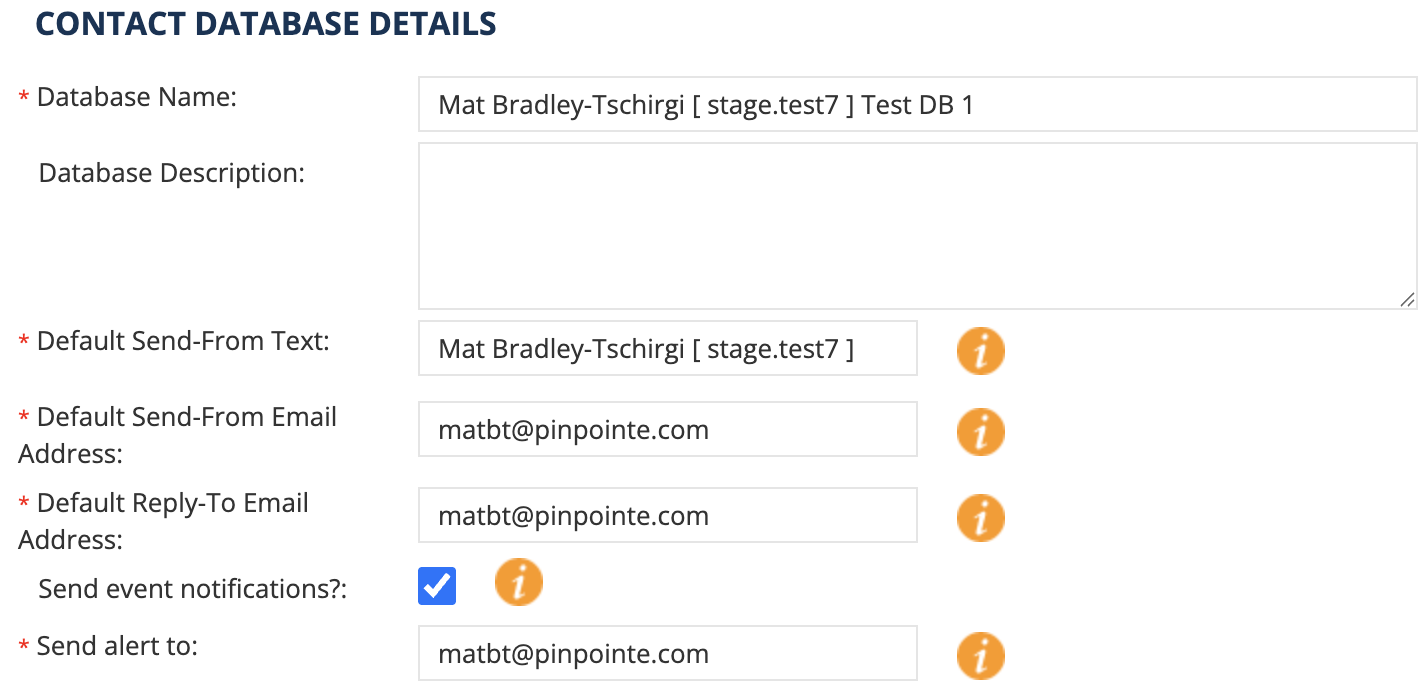
- Change your Database Name
- Use a name that will resonate with your subscribers.
- Avoid list names like Salesforce Dump, Old Subscribers, Webinar Leads, etc.
- Add a Database Description
- Use a description that will make sense to subscribers. You may also want to include the list's send frequency (weekly, monthly, quarterly, etc.)